How to Manage Demand and Booking Data
Demand and booking files are consolidated into a single master document per folder, updated continuously as new data arrives. All you need to do is update the container wiht new data. Access is restricted to authorised members of your organisation.
Best practice
Use one folder per data source. For example, if you have private booking data and purchased booking data, create two separate folders.
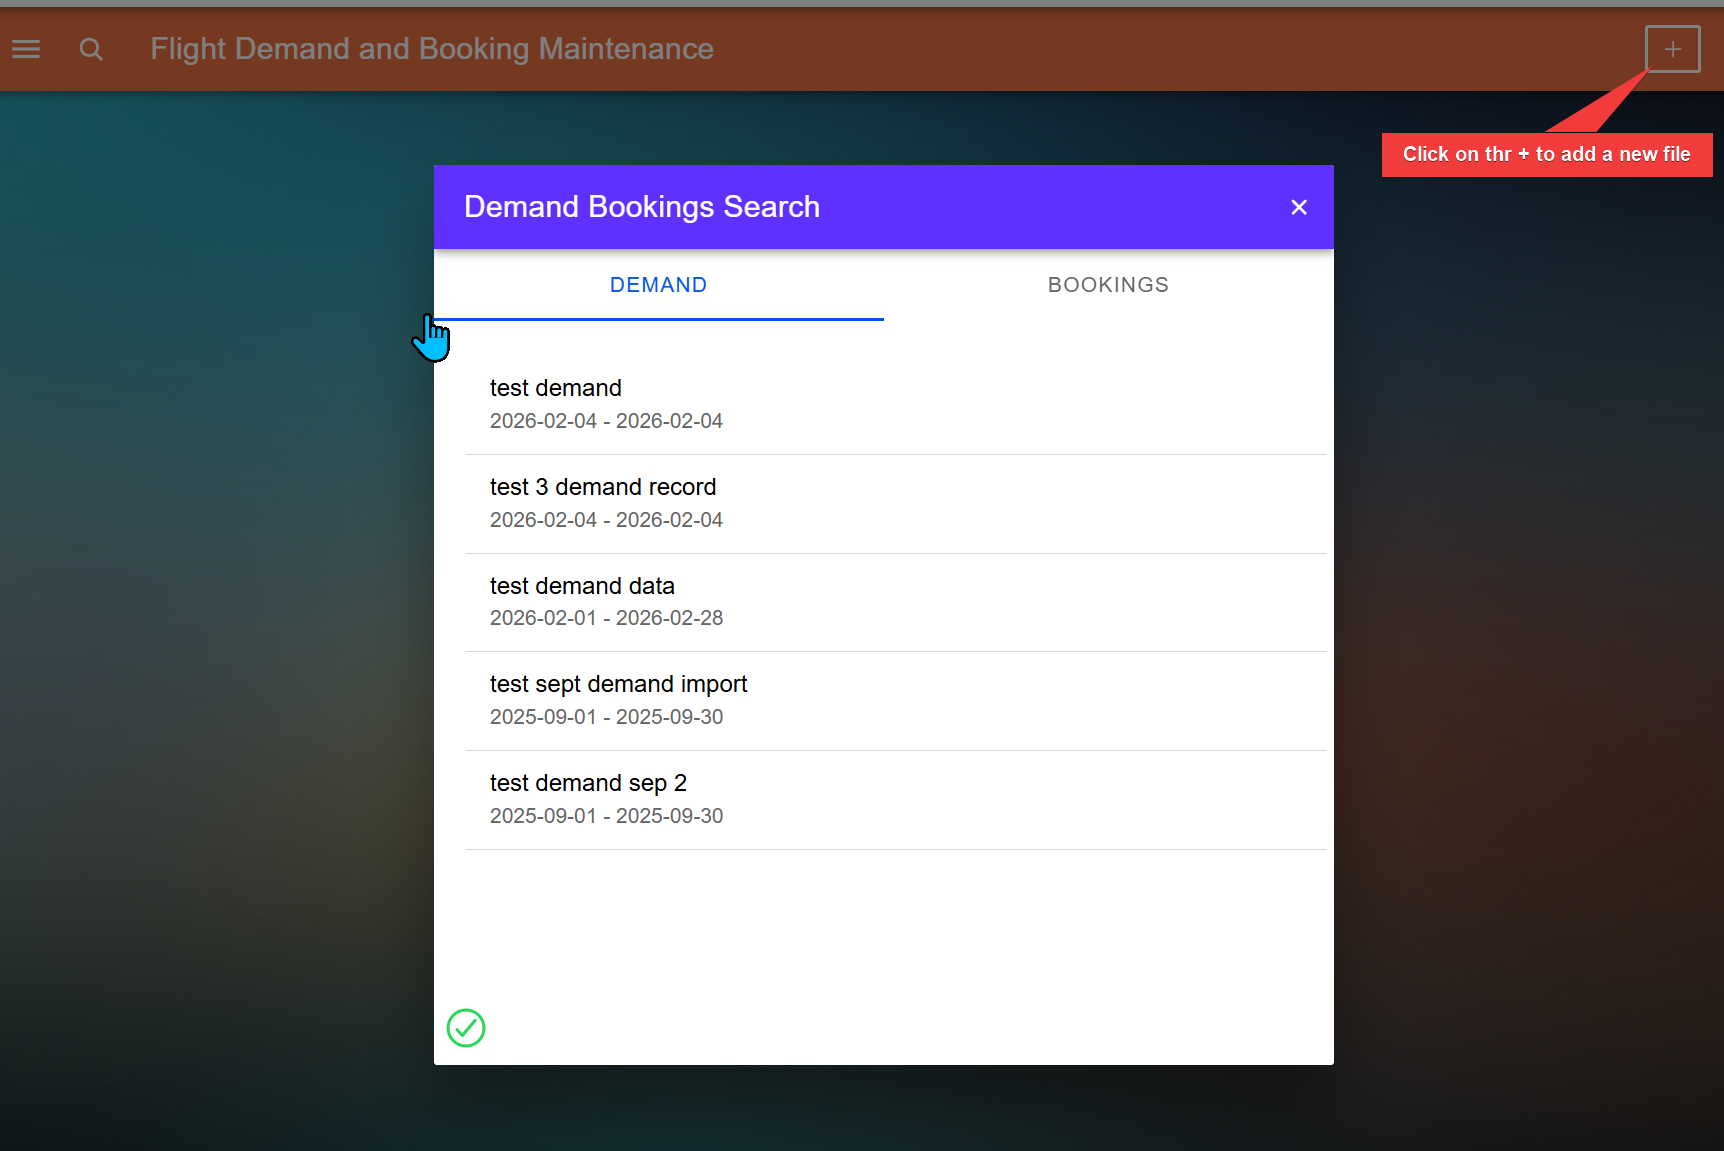
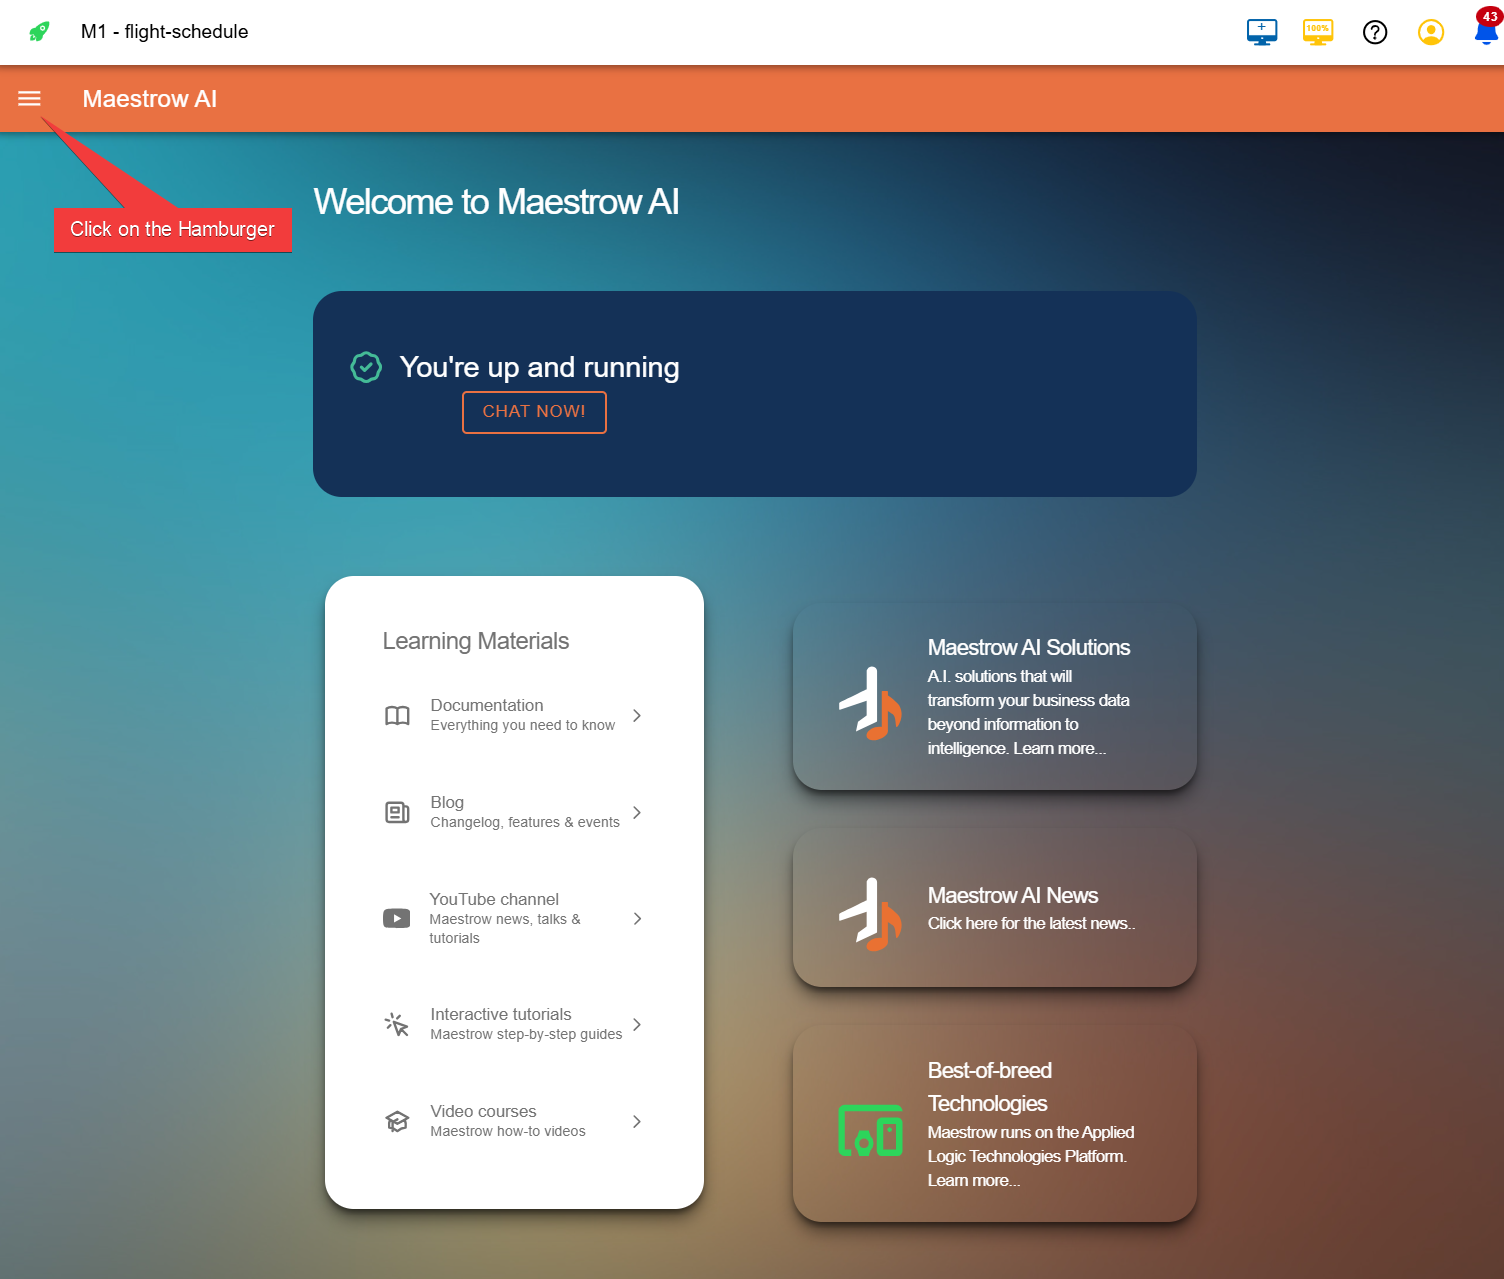
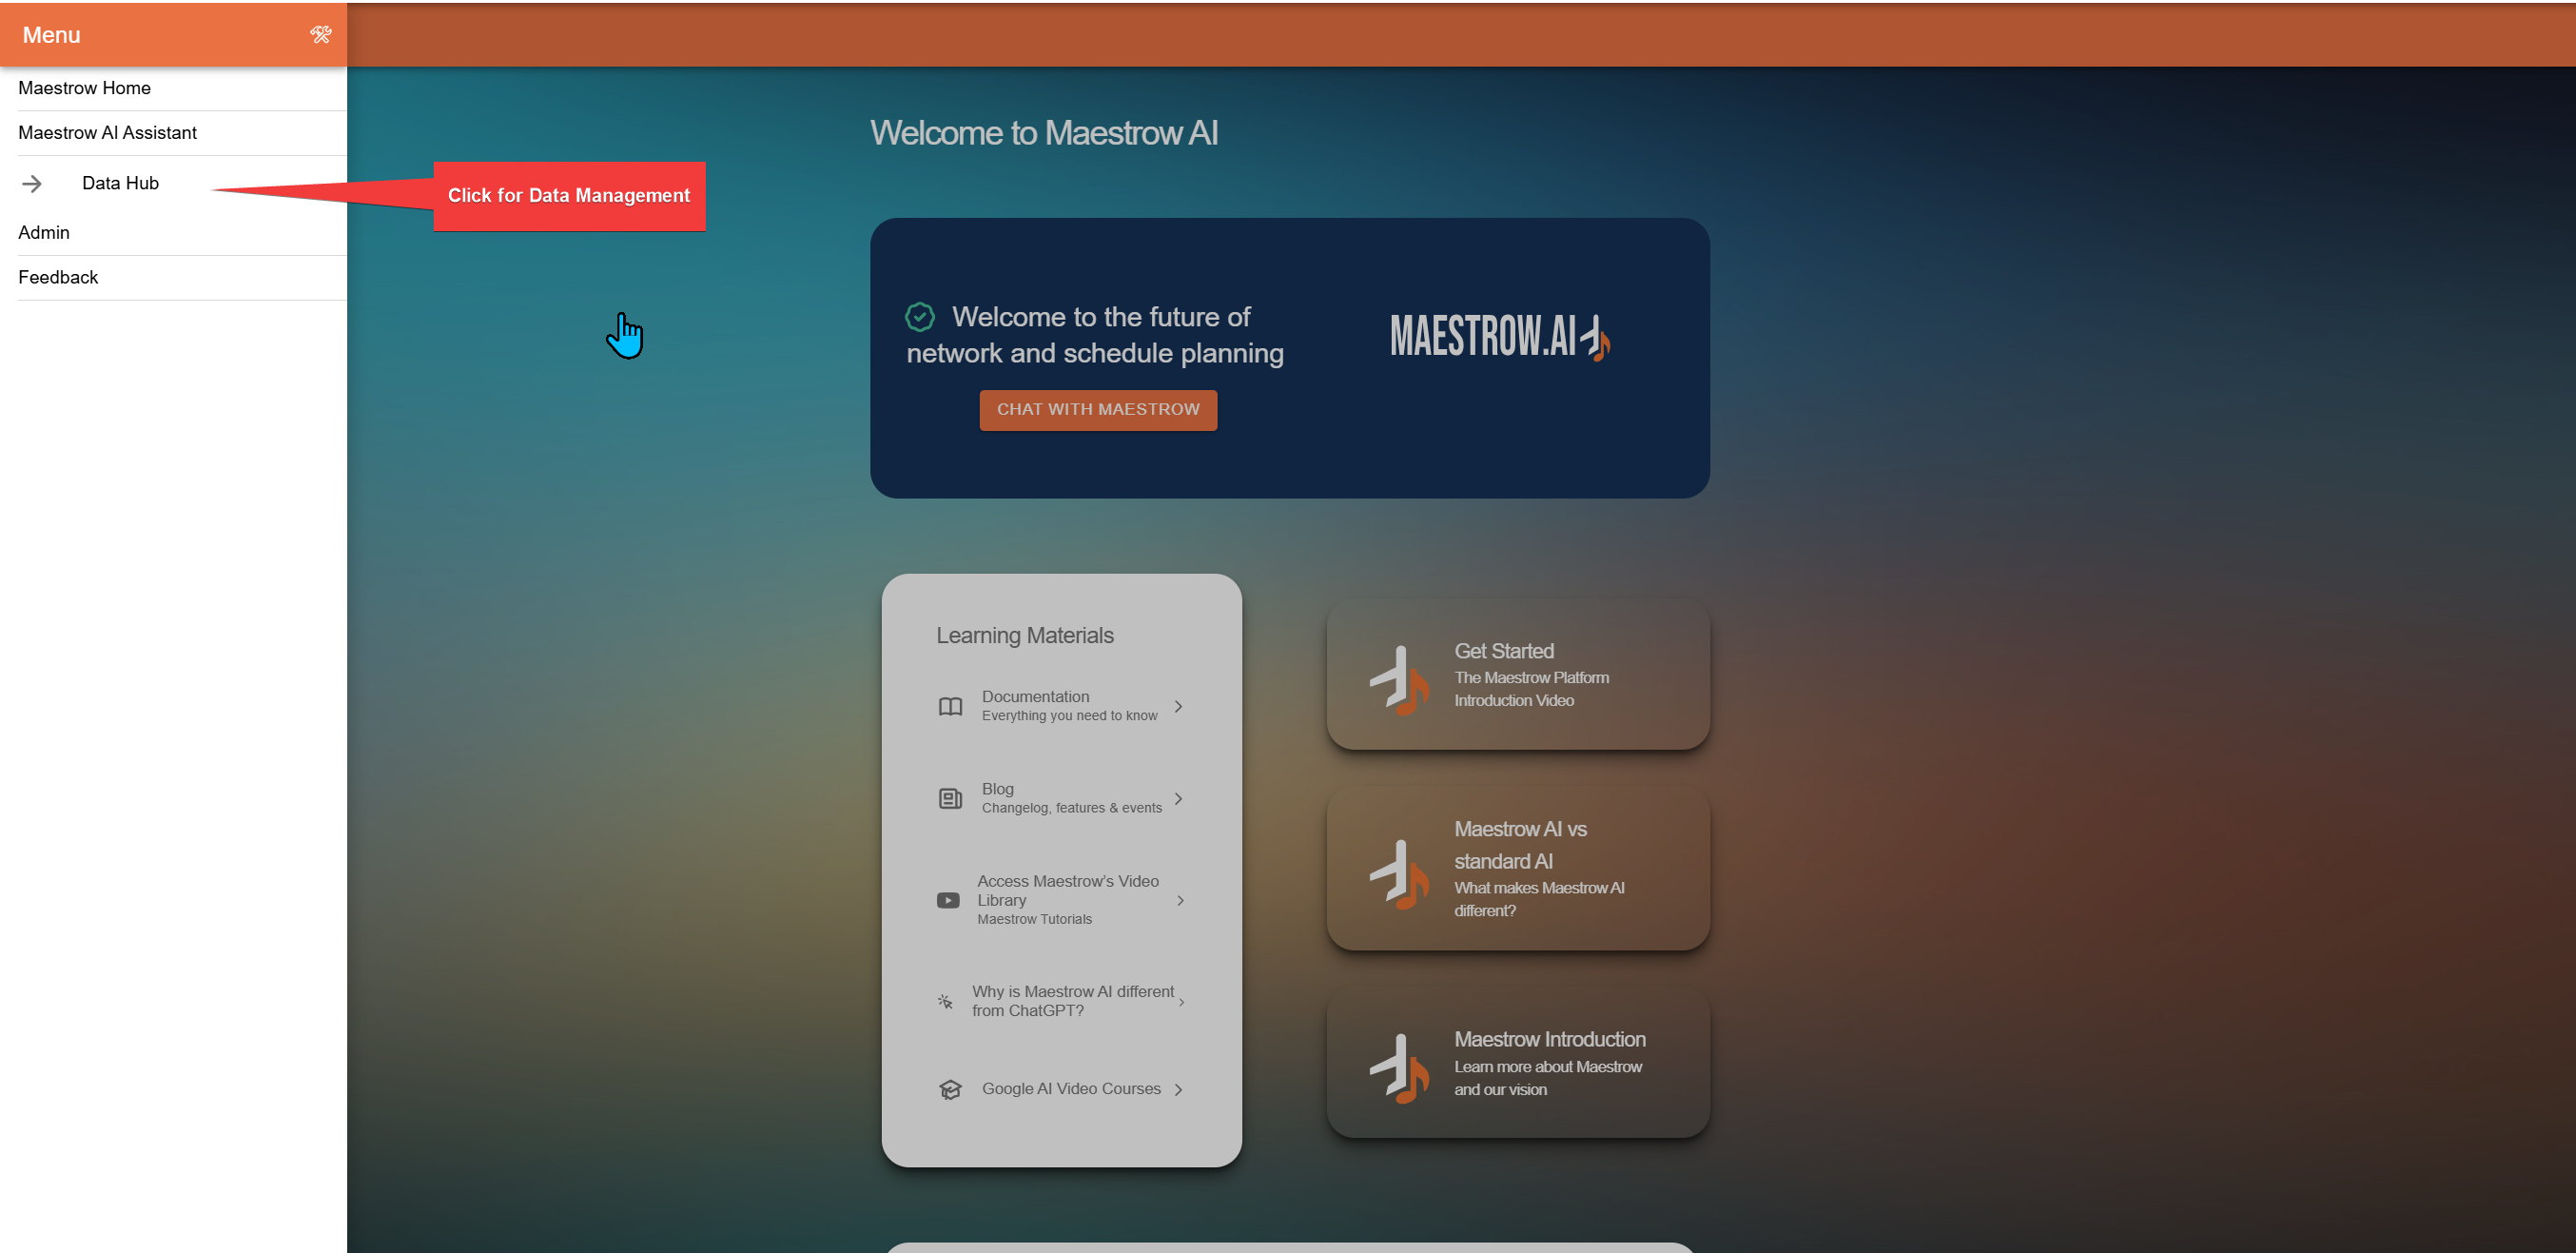
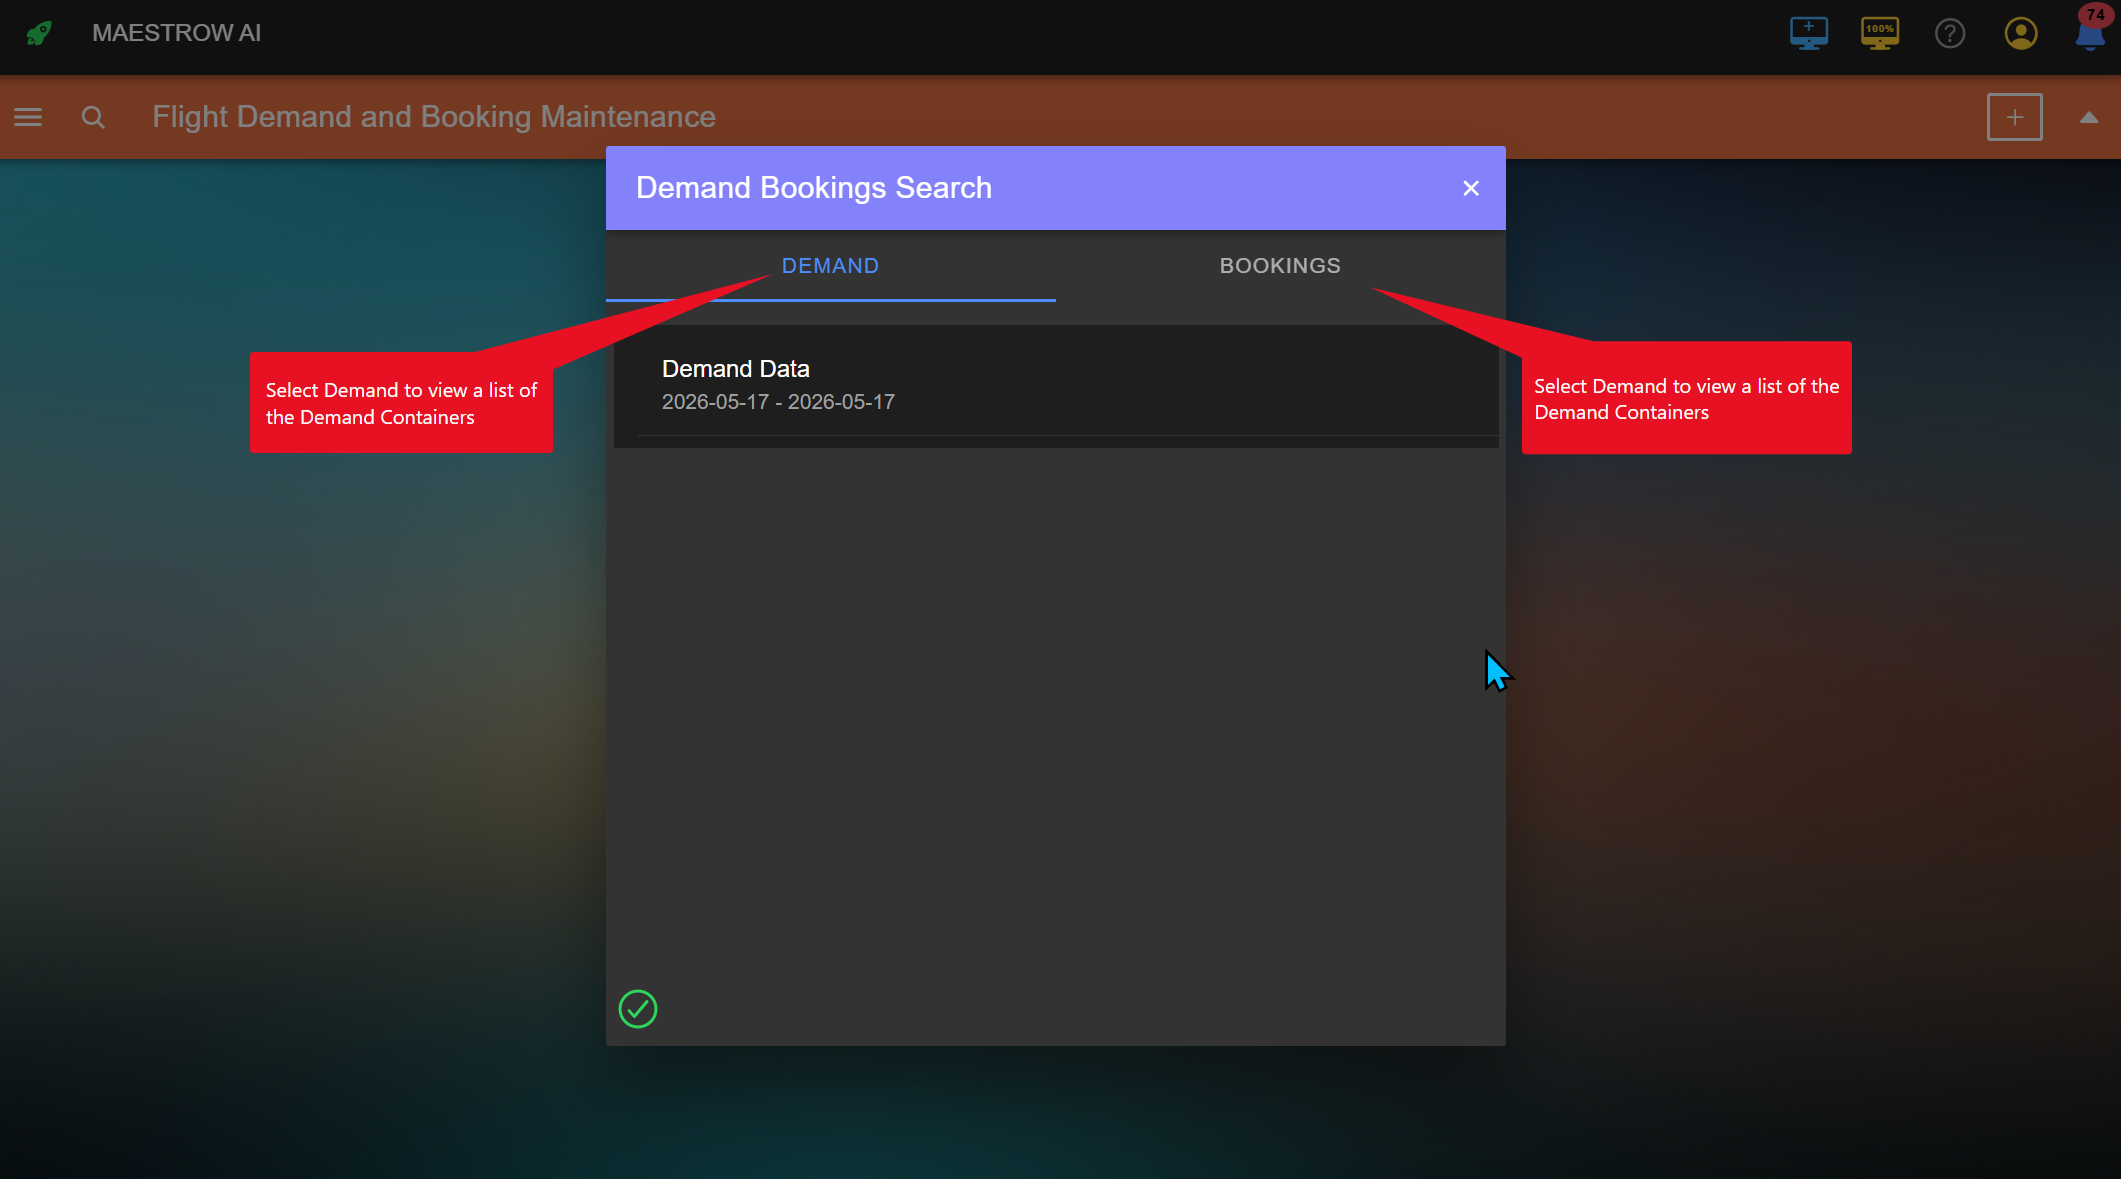
View Your Folders
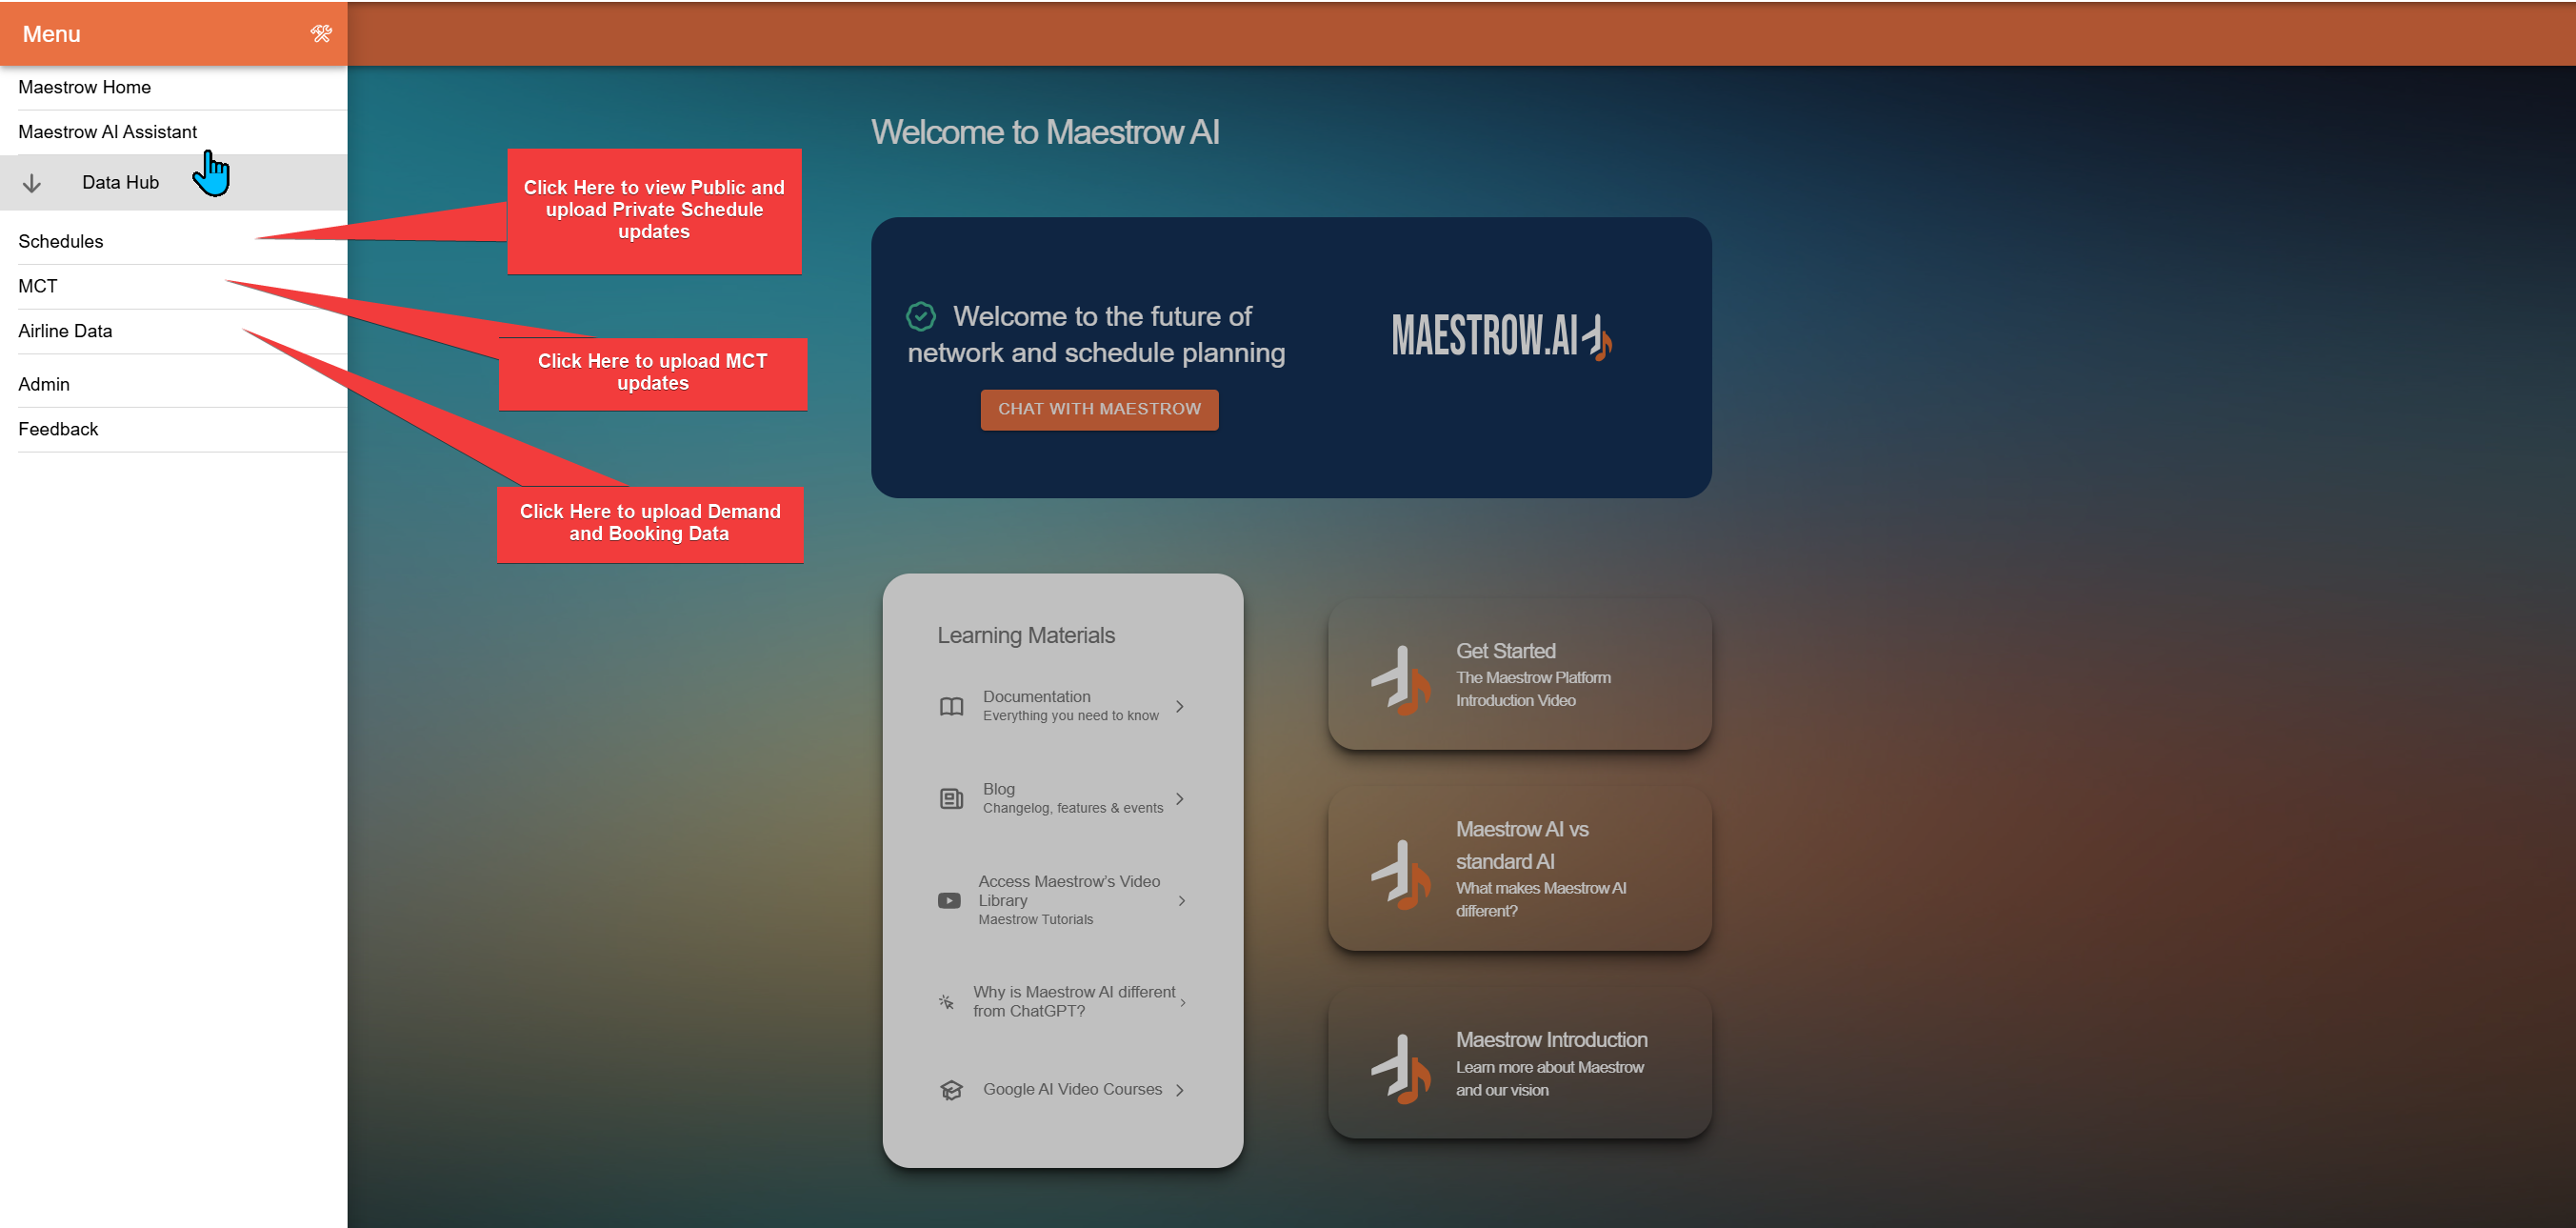
File Management
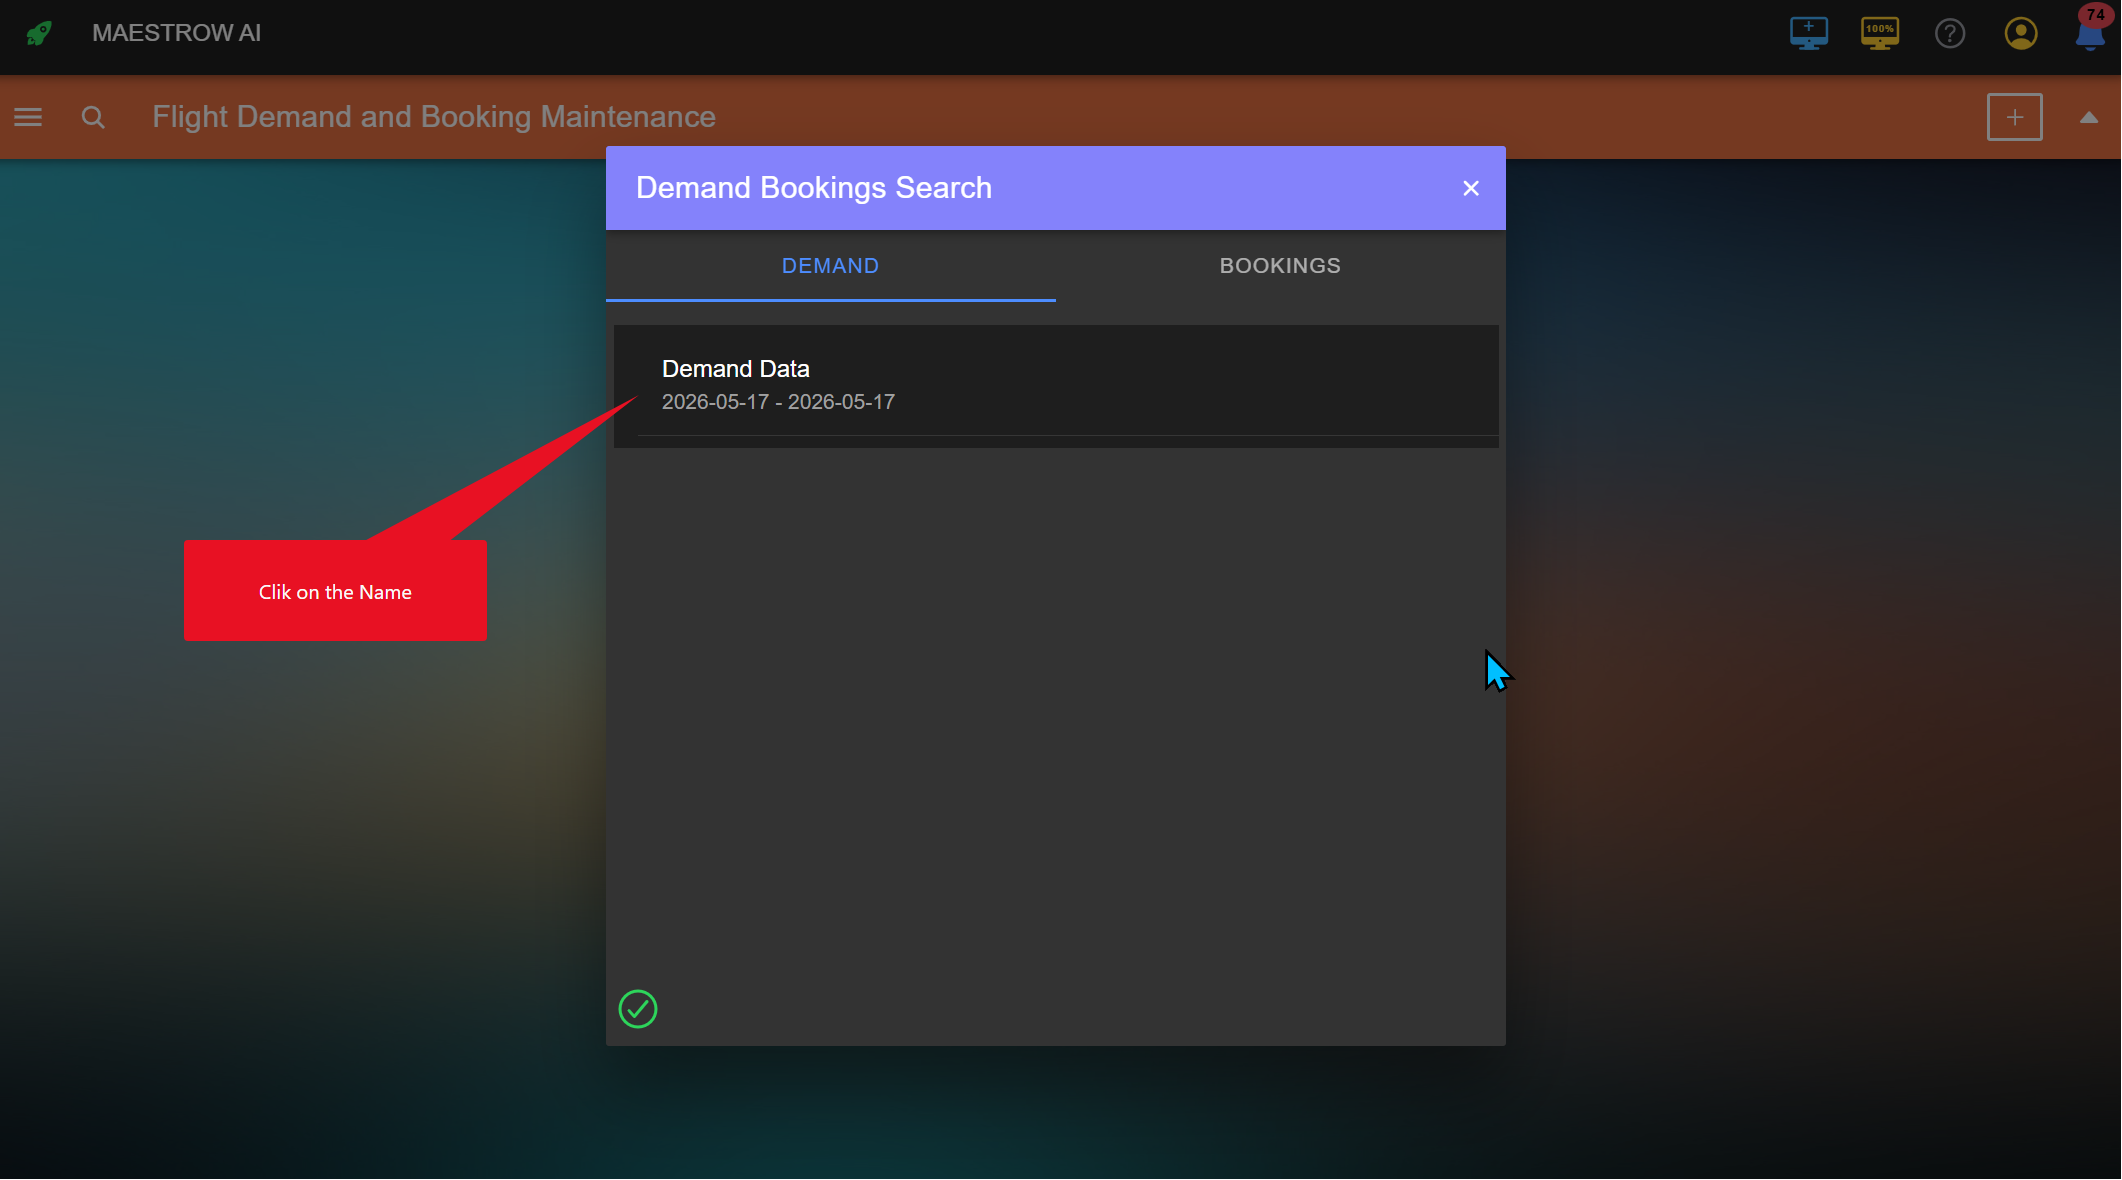
Click the file name to open it, or click the three-dot menu to access folder options.
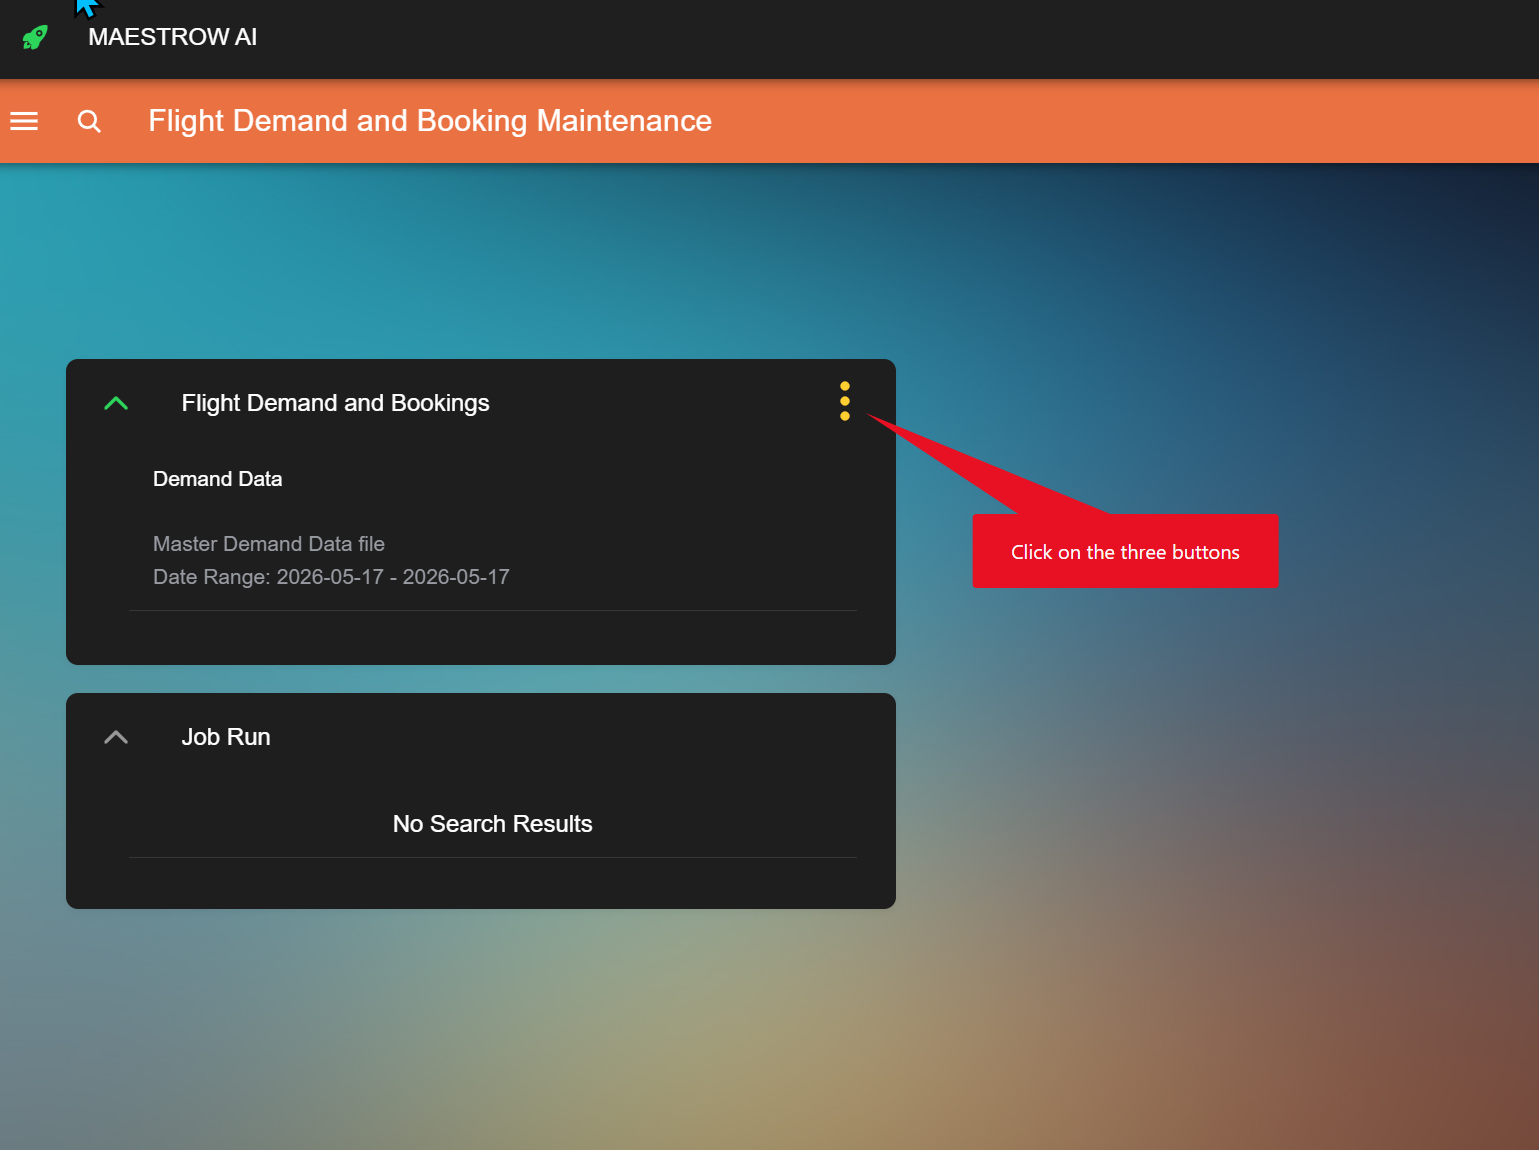
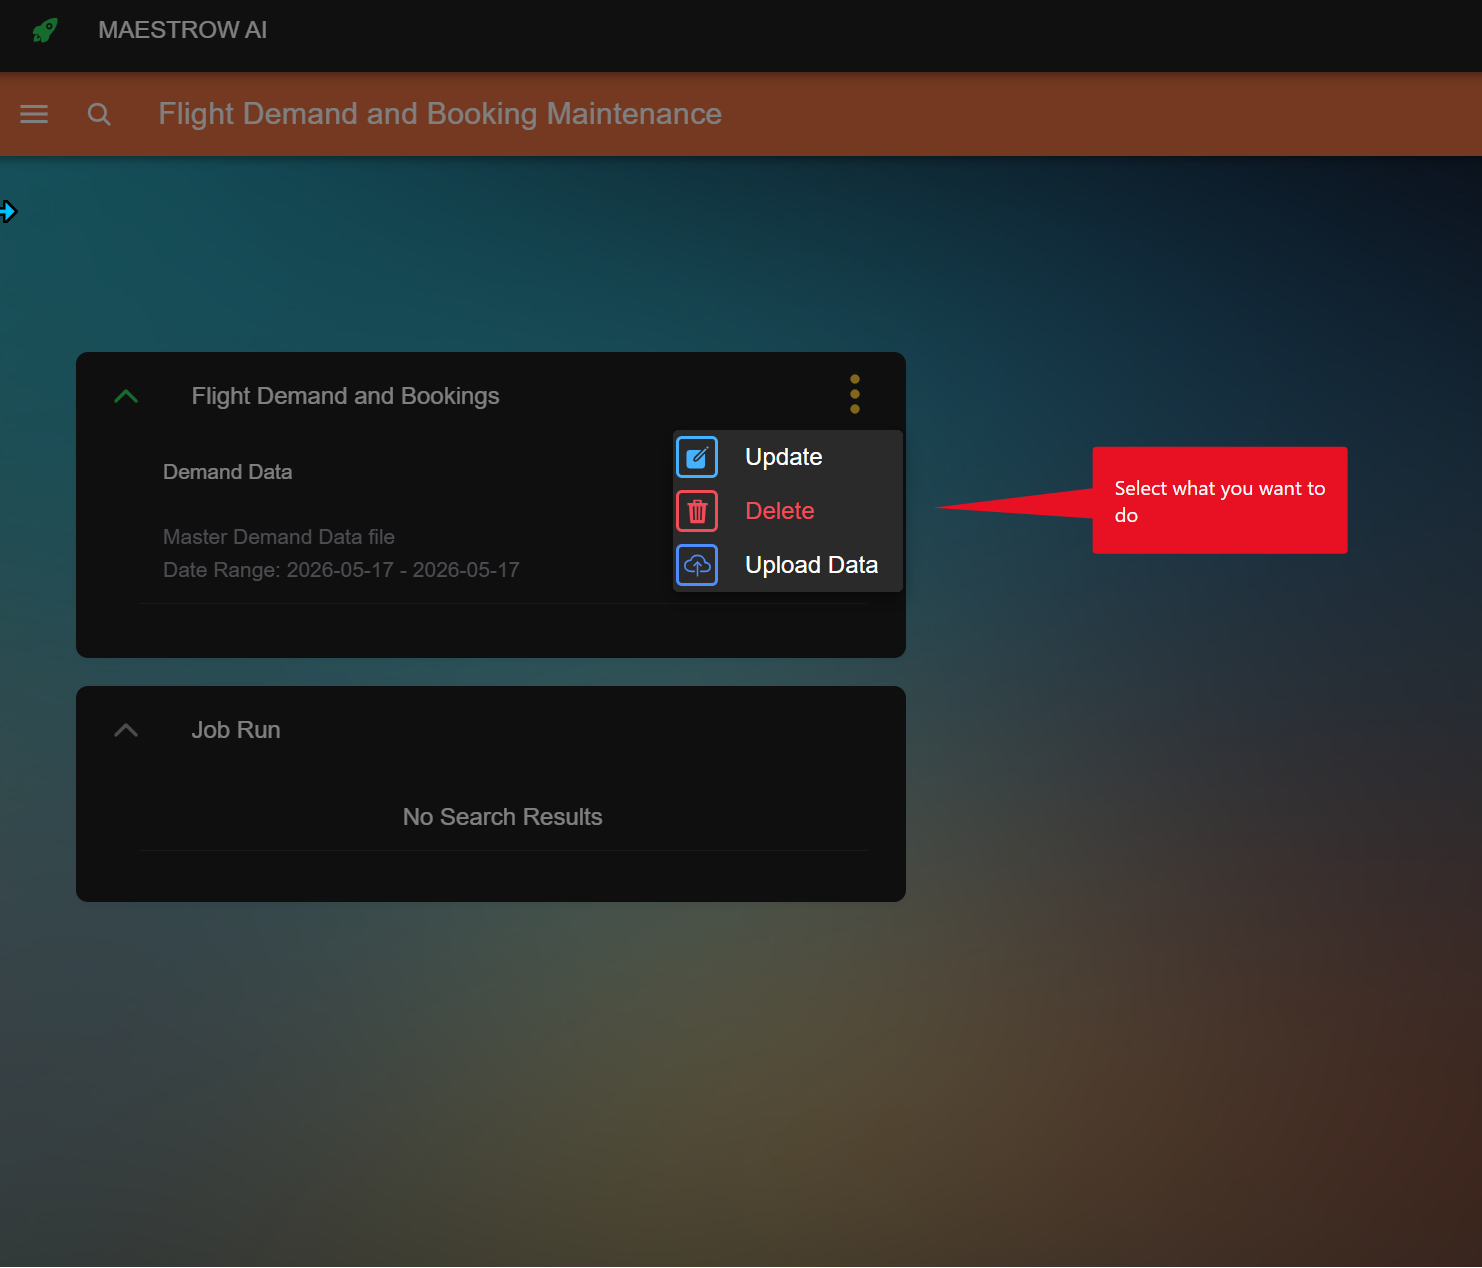
The available options are:
- Update — append new data to the folder
- Delete — remove the folder and its file
- Upload — add a booking or demand file; all files in a folder must share the same data format. For CSV files, ensure column headers are on the top row
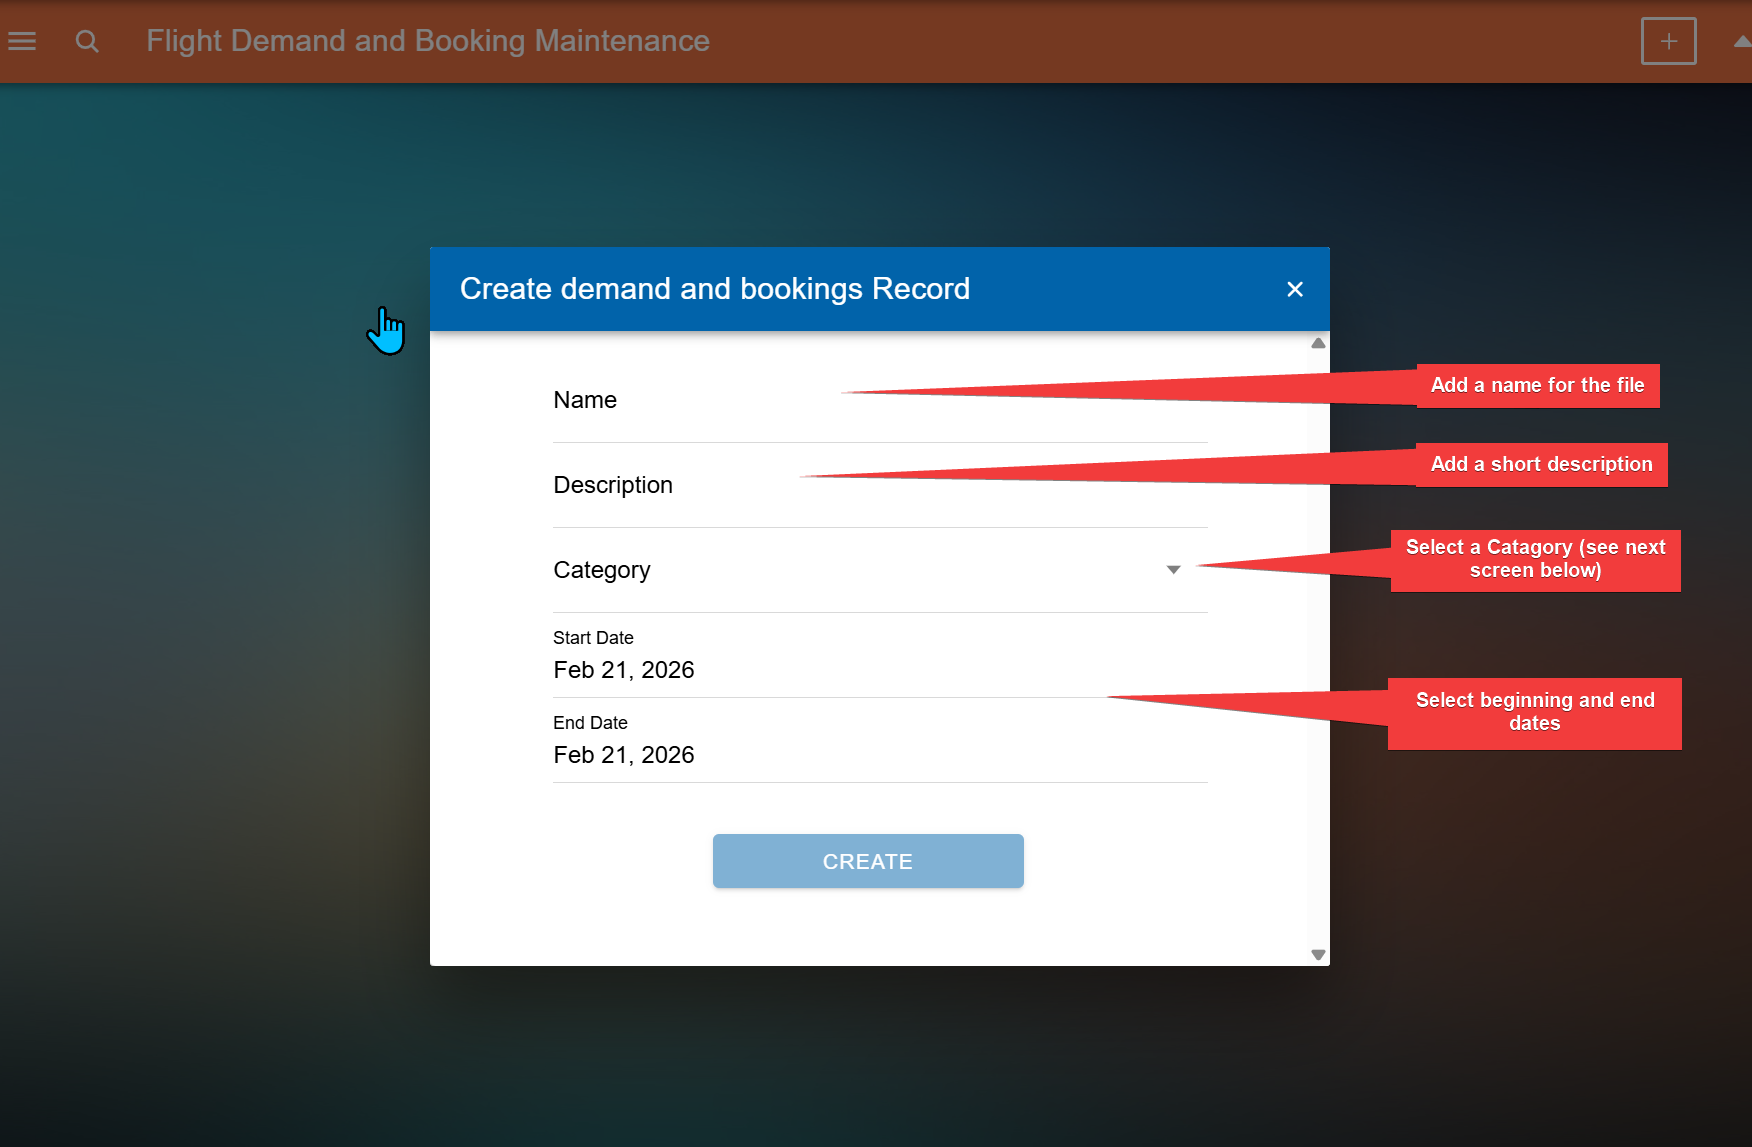
Create a New Folder
- Click the + button to add a new folder
- Enter a name for the folder
- Add a short description
- Select a category
- Set the start and end date