How to Manage Private Schedules
Adding a private schedule is a two-step process: first create a container, then upload the schedule file into it.
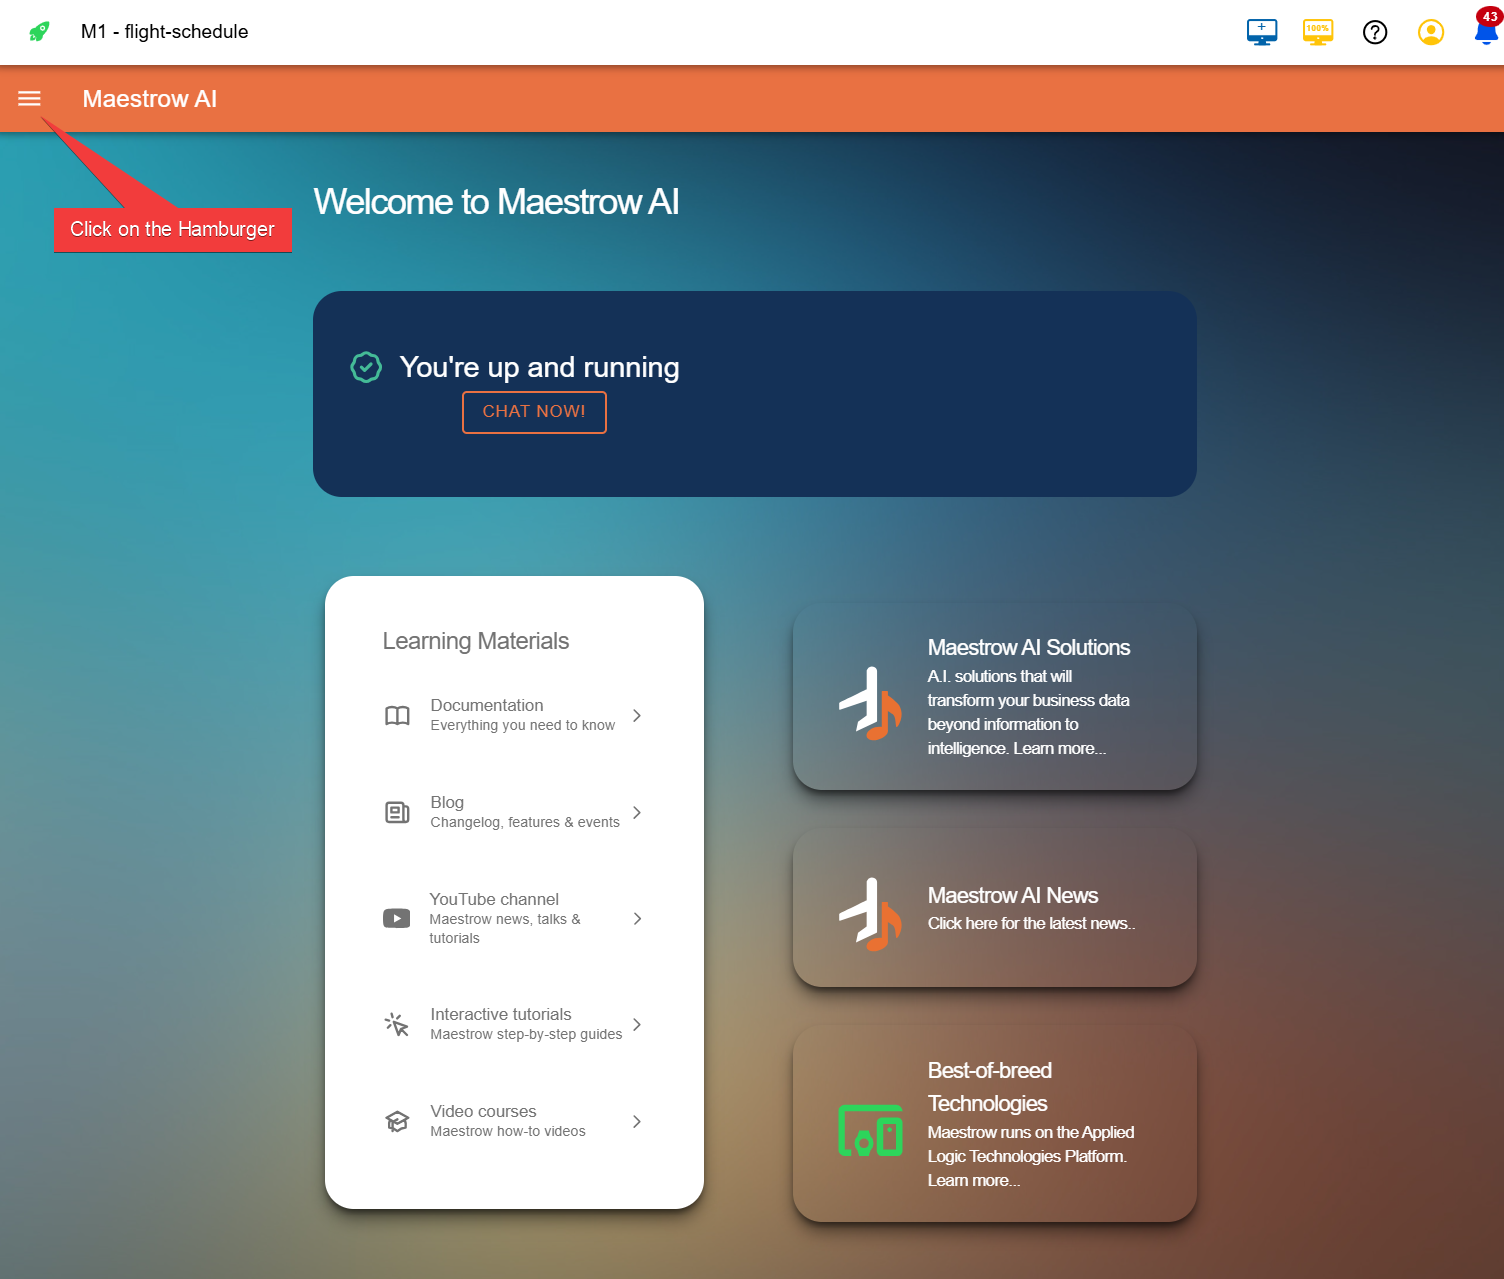
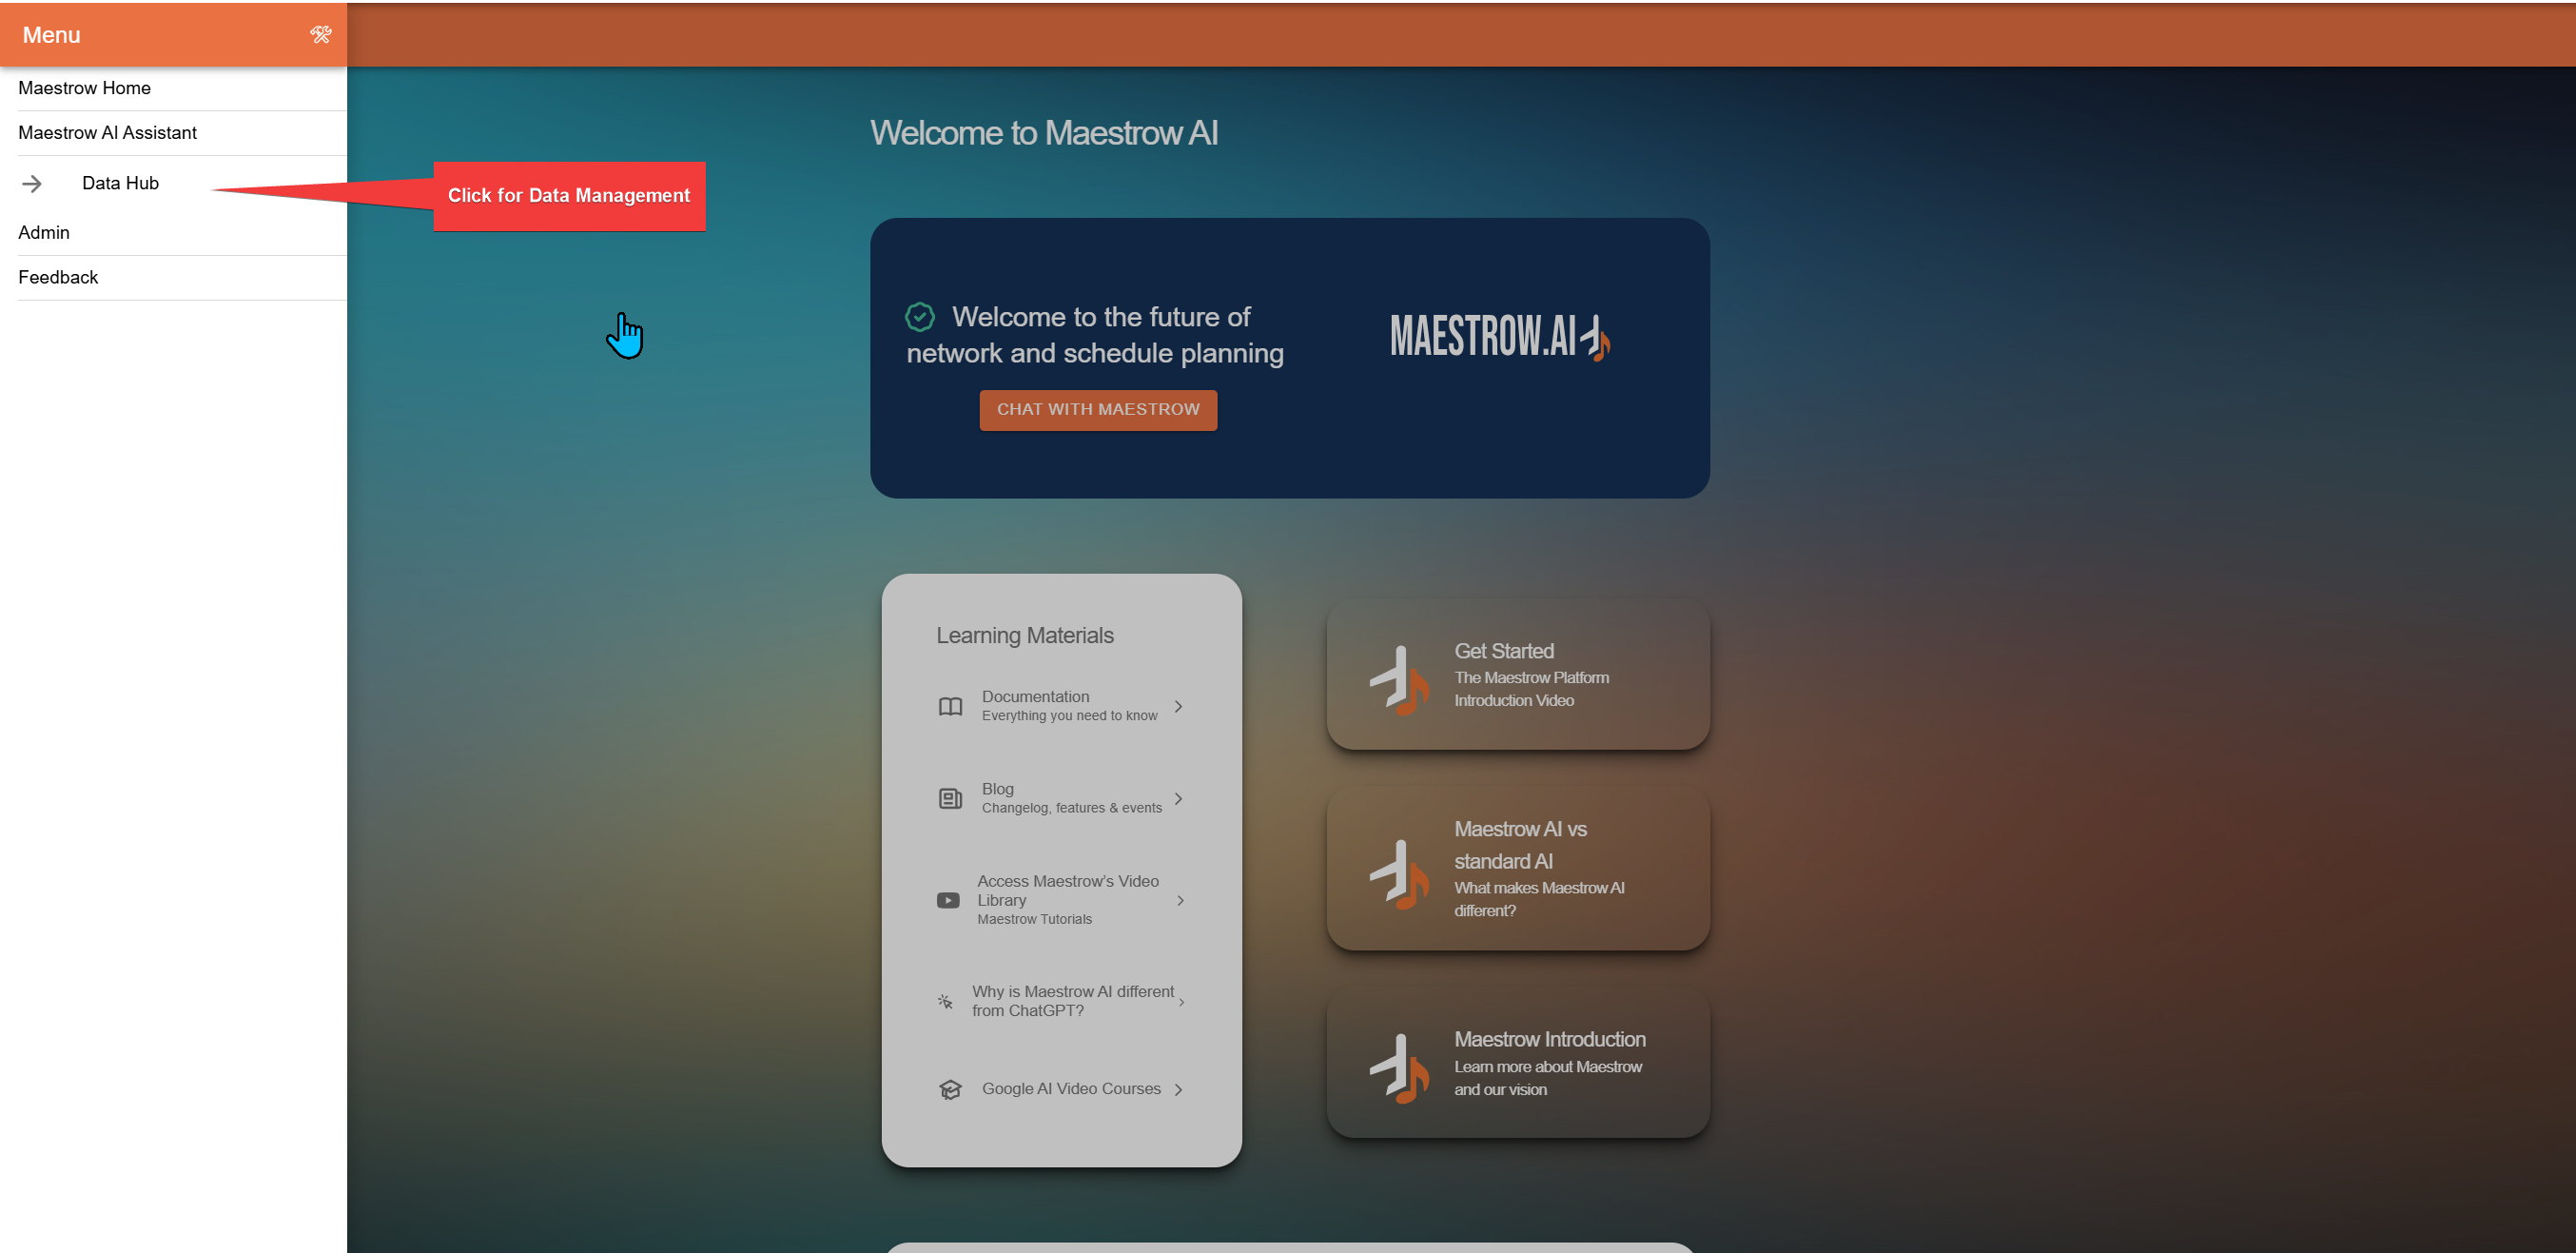
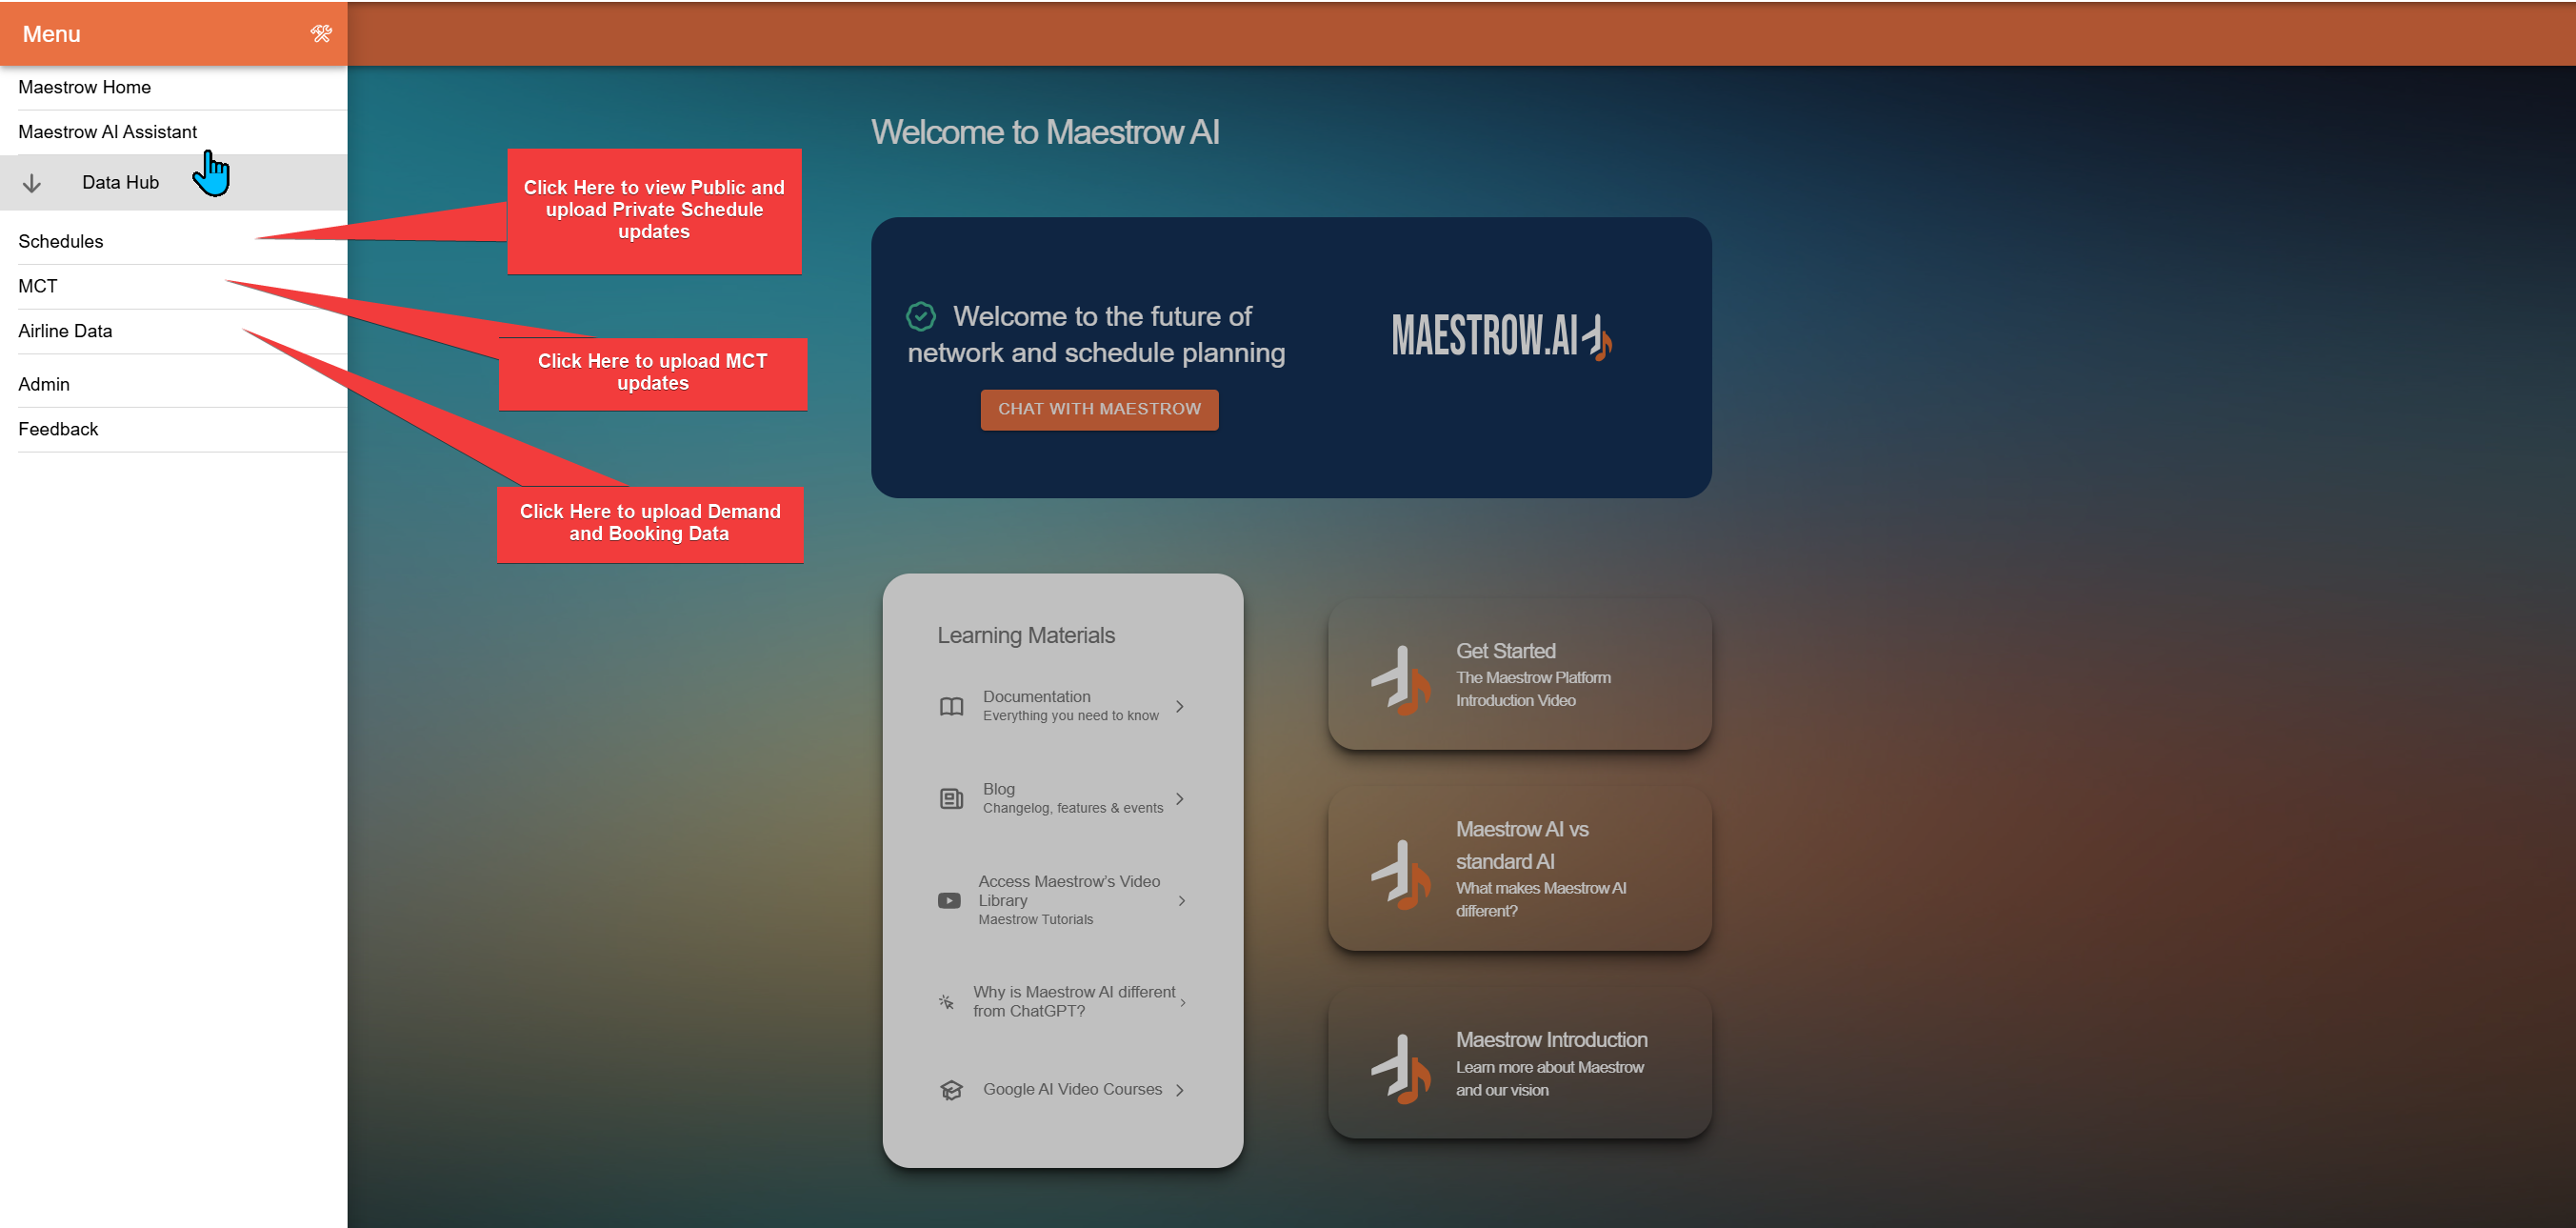
Accessing Data Management
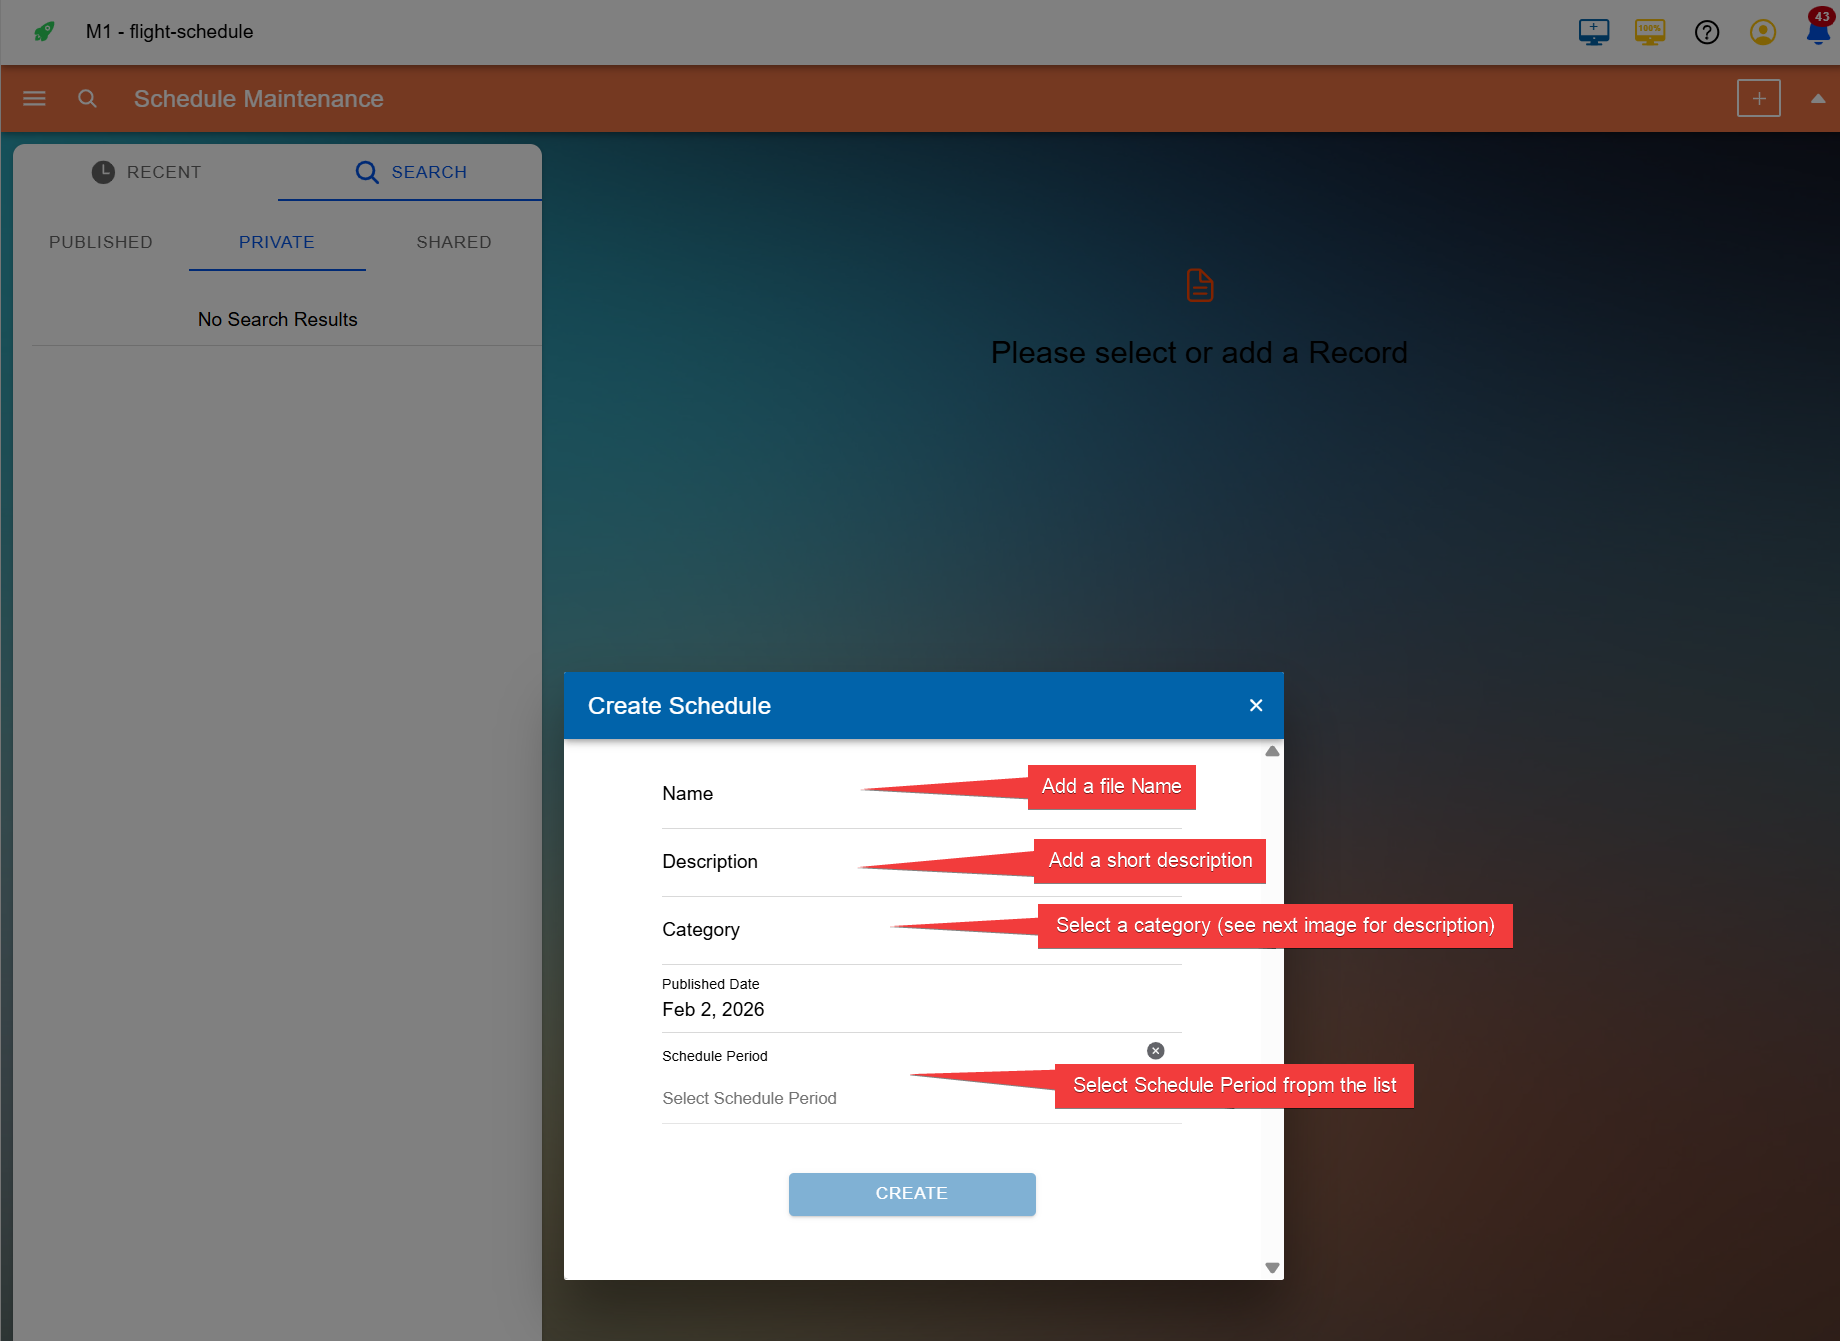
Step 1: Create the Container
- Enter a name for the file — this cannot be changed once set
- Add a short description
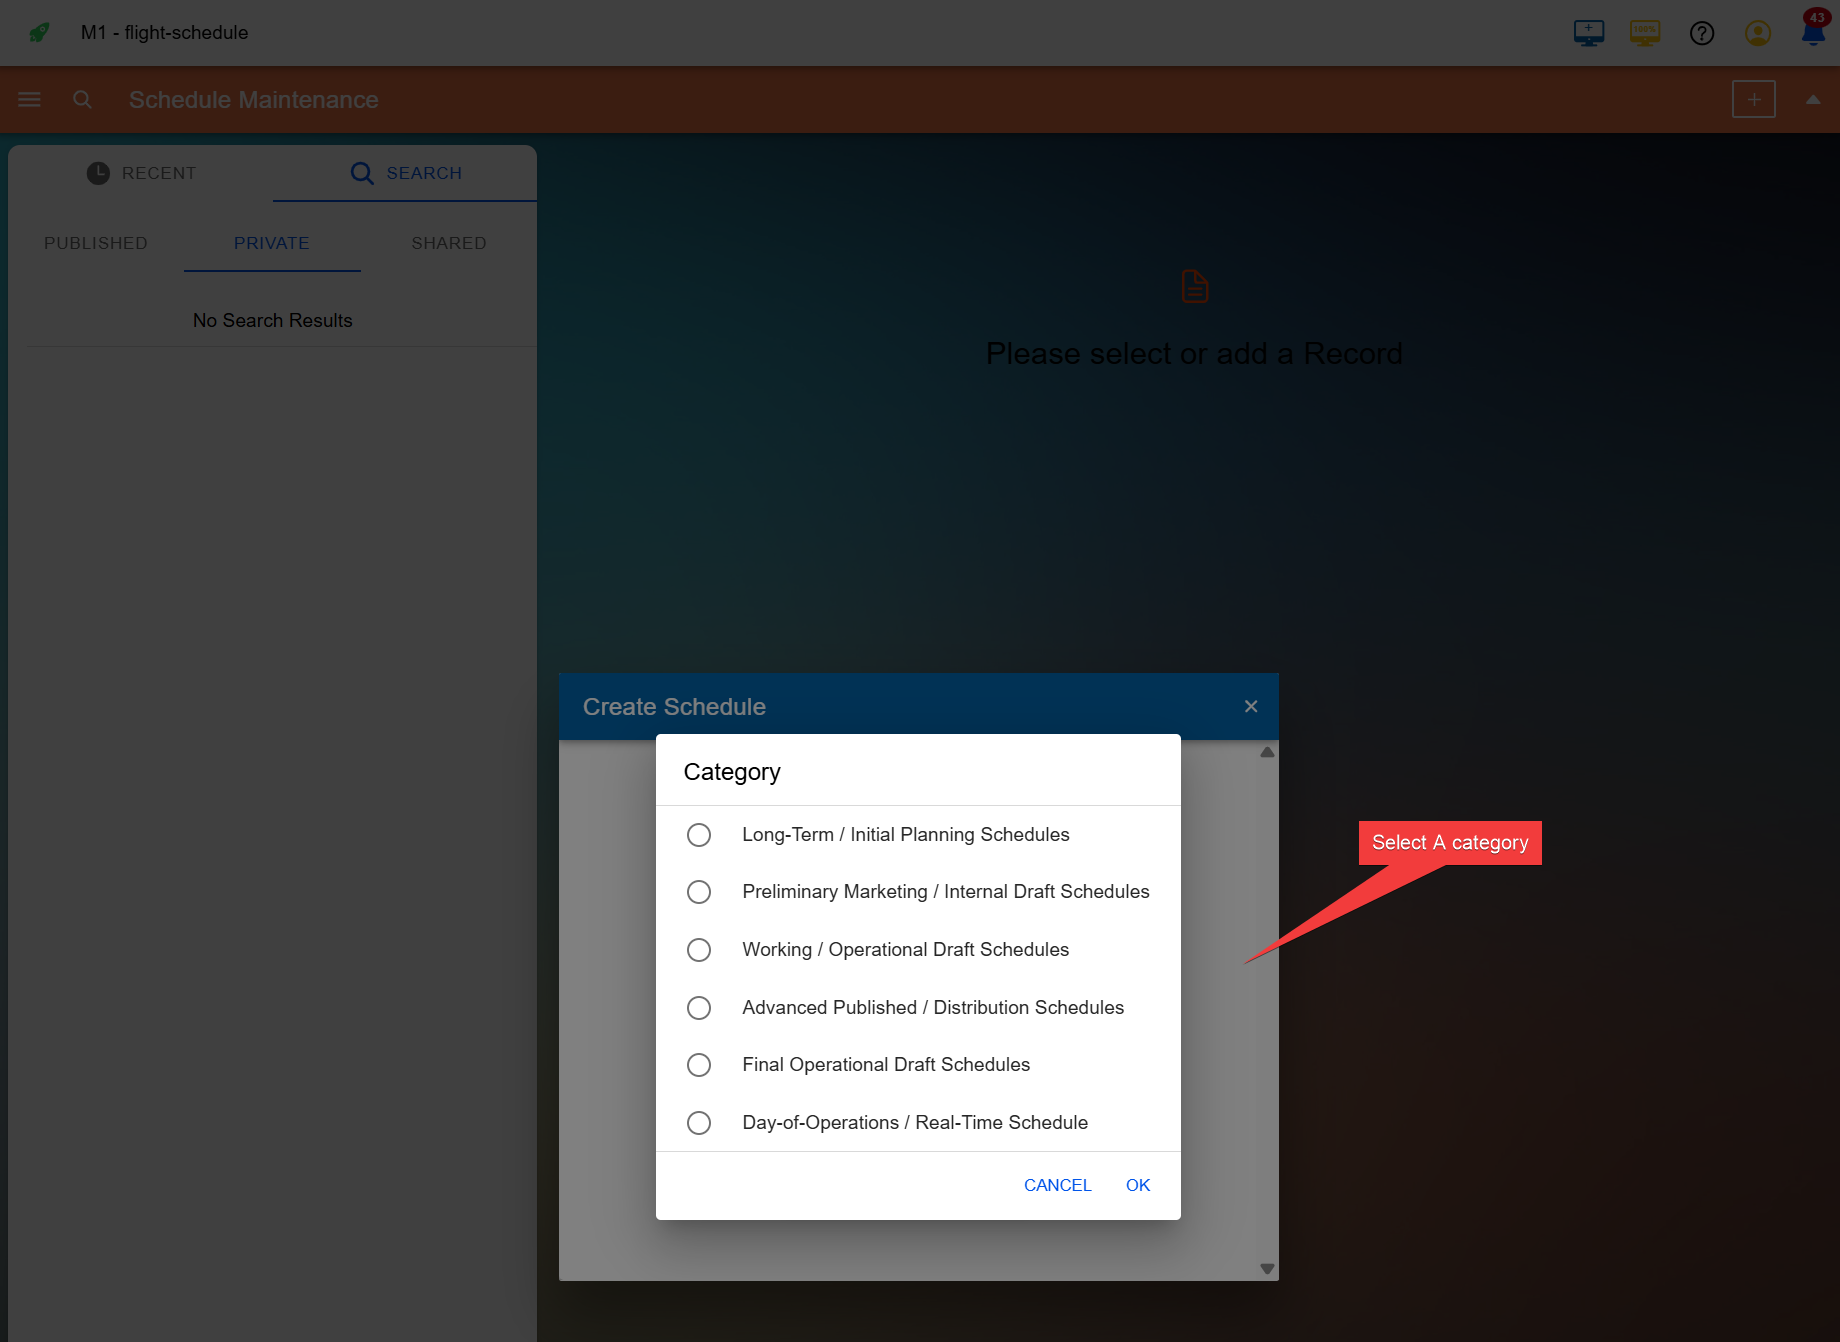
- Select a category to help organise and reference your files — categories can be customised
- Add a date
- Select a schedule period — schedule periods can also be customised
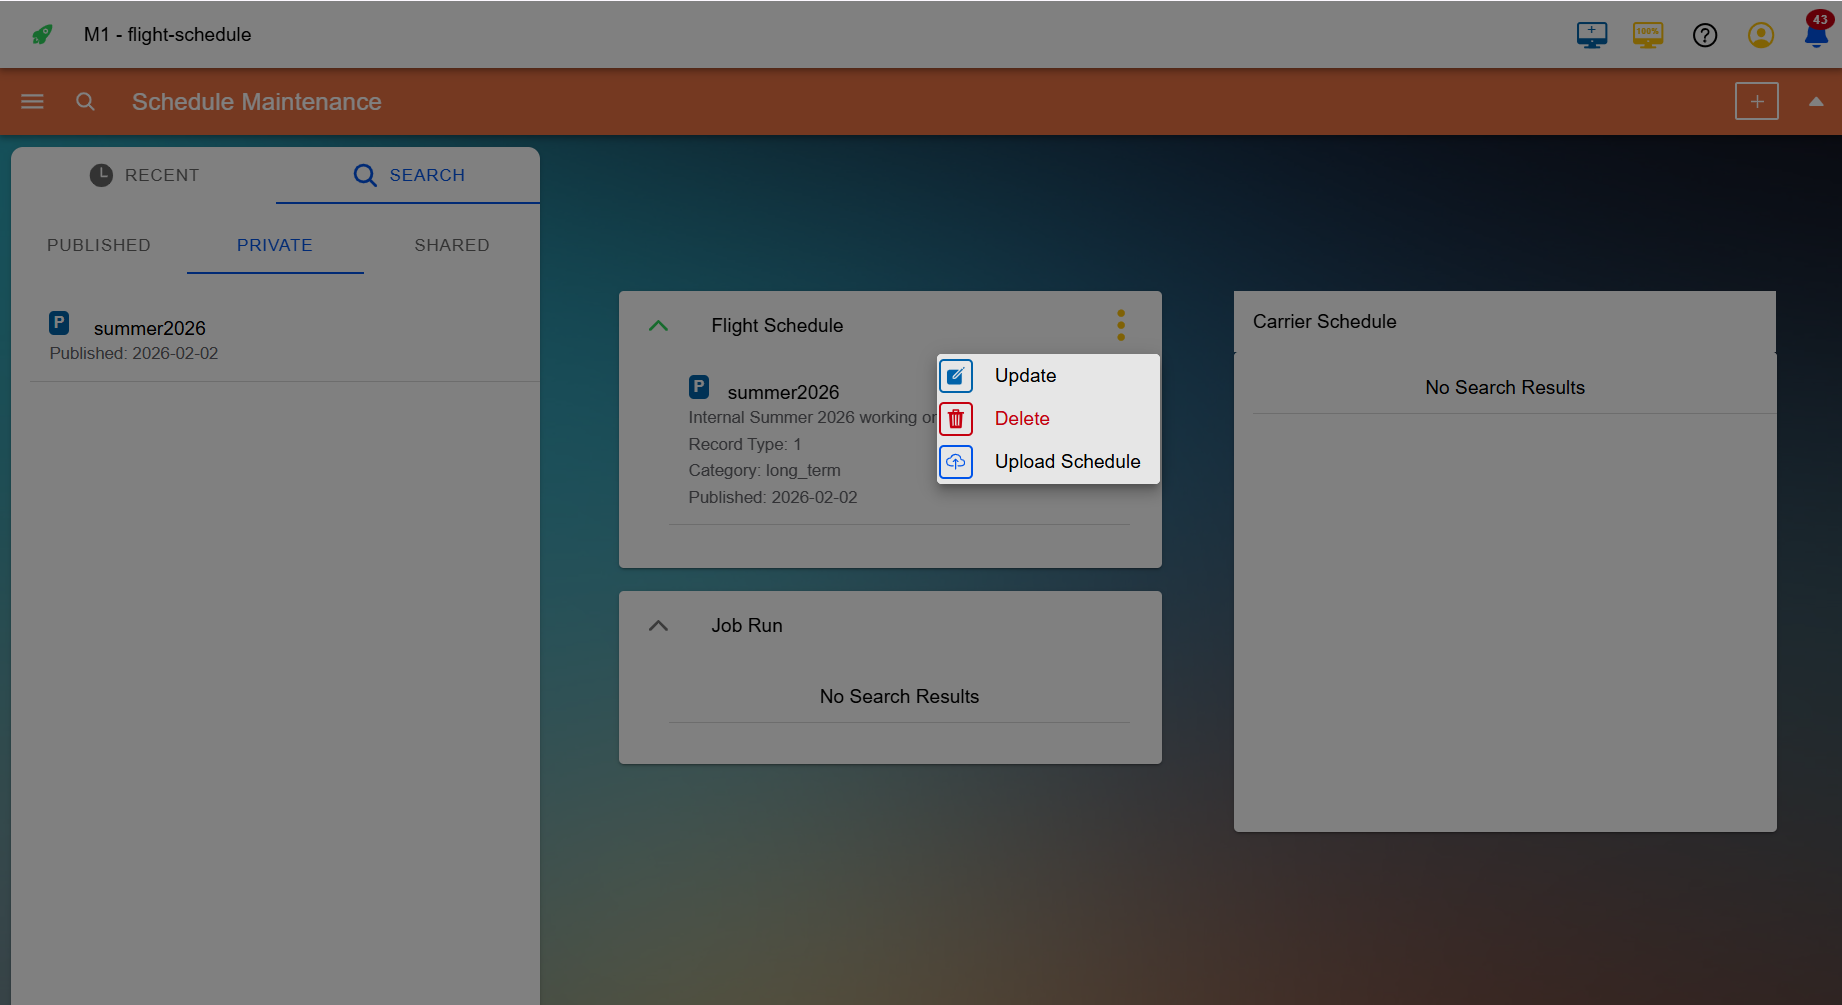
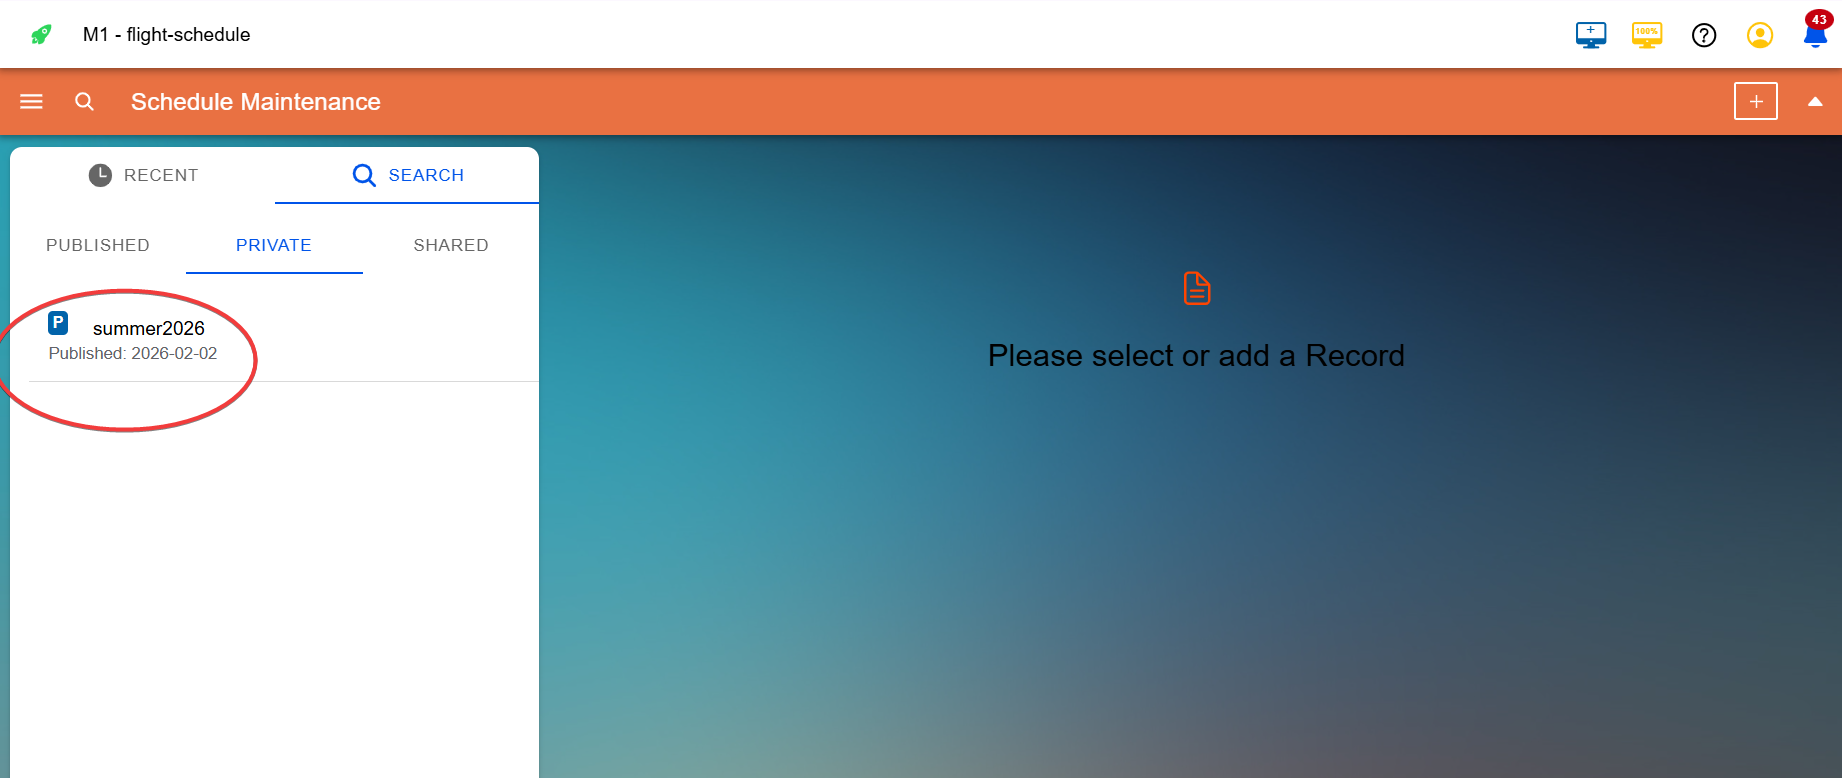
Step 2: Add the File to the Container
Click the file name to open it, then click the three-dot menu to access container options.
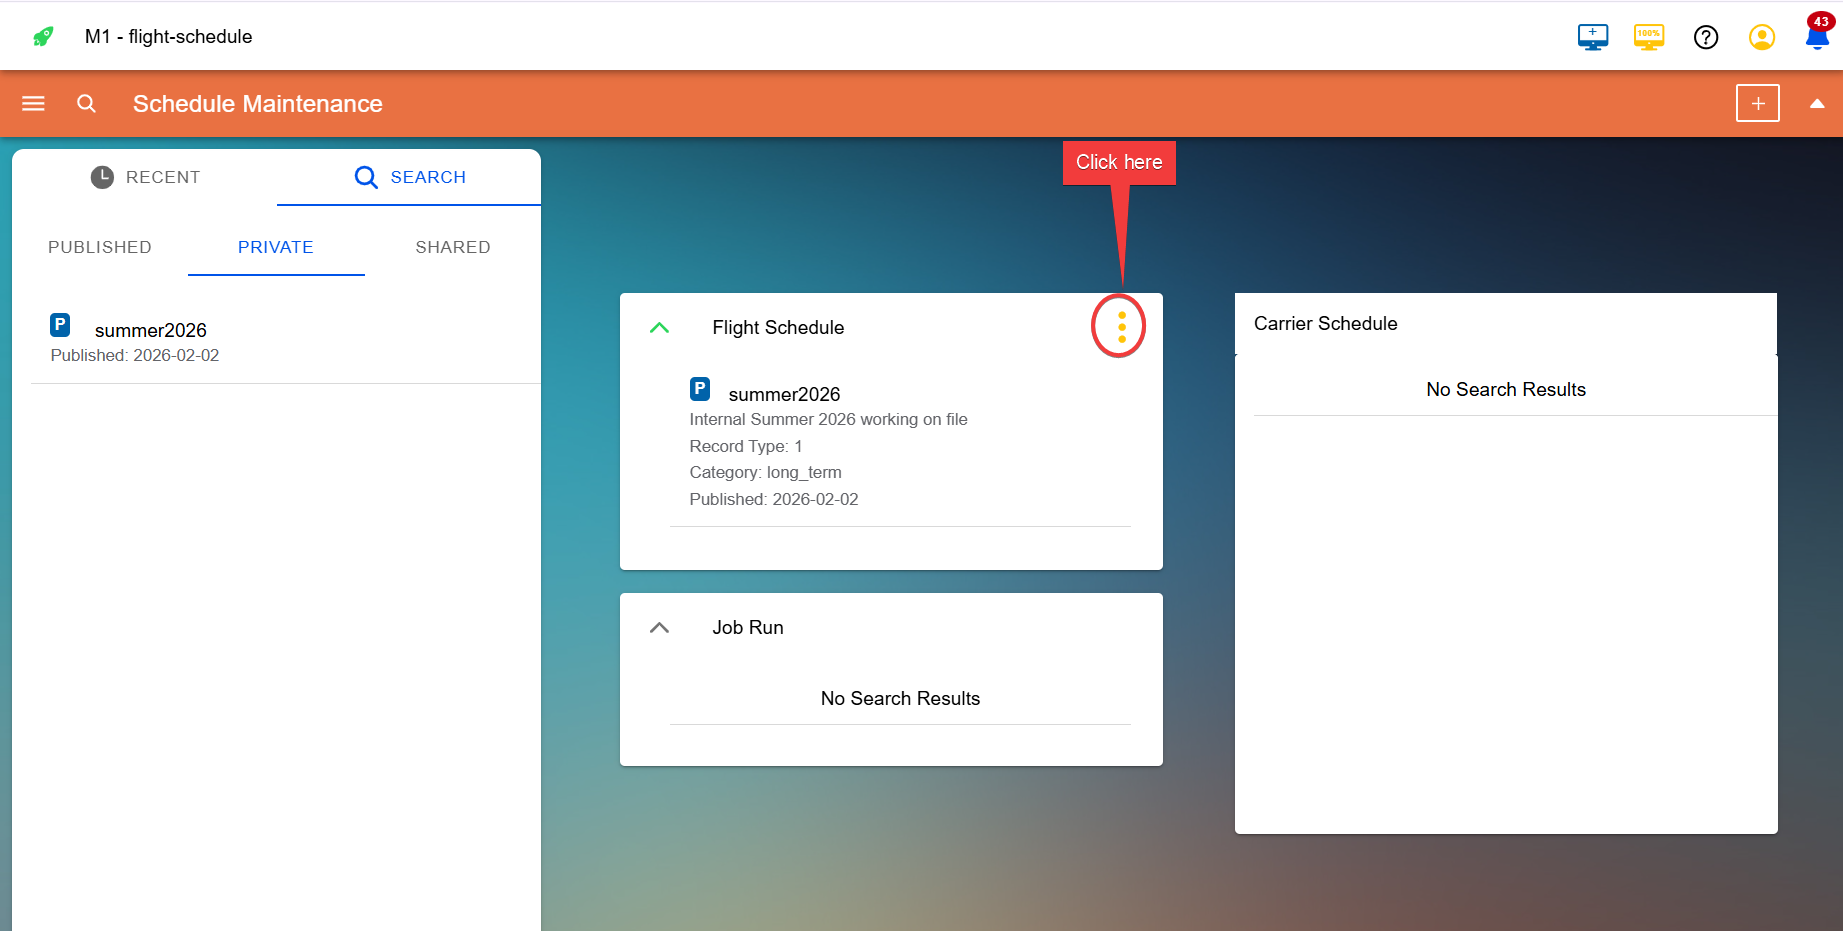
The available options are:
- Update — edit the container properties
- Delete — remove the container and its file
- Upload — add the schedule file to the container